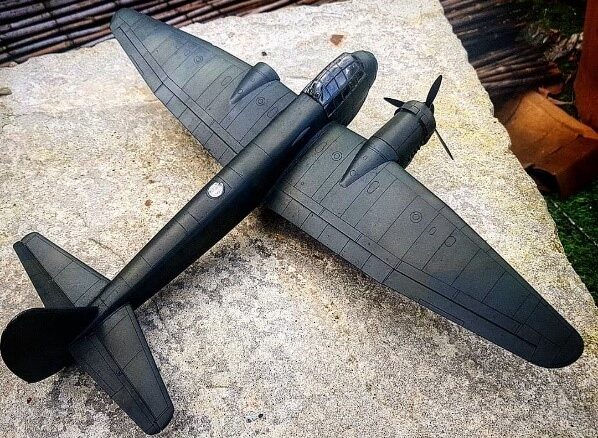
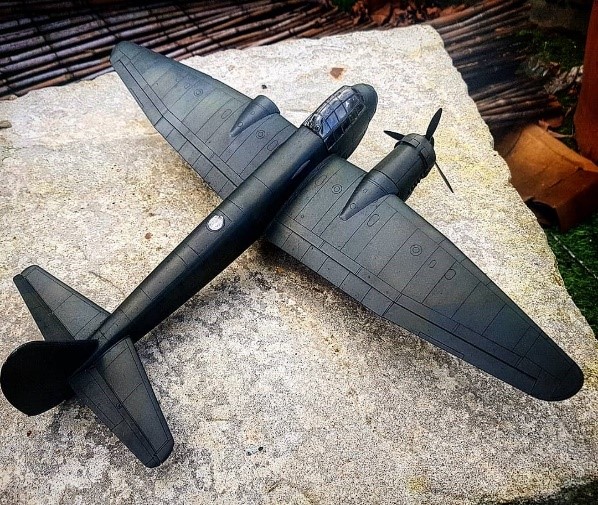
Now the plane, I was adamant that this was going to be the best plane I had ever painted. I took measures to ensure my airbrush was tiptop; no chance of spurting. The colours I had were correct for the plane I wanted to paint, proper masks were bought for all the windows and glass parts. The area was clean and free from debris, but as you can see, I had to contend with being shot with a nerf gun whilst defending my work. I tried to add some contrast to the model by priming in white and under shading in black, different shades of green were used to add another dimension. I was over conscious of all the seam lines and joins so I filled and sanded till I couldn’t any more I was very happy with the smooth texture and contrast.

A small number of the C-series day fighters had their new solid-metal noses specially painted to resemble the bomber A-series’ “beetle’s eye” faceted clear view nose glazing, in an attempt to deceive Allied pilots into thinking the fighters were actually bombers; the unusual “camouflage” attempt did result initially in a number of Allied aerial losses. Similarly, some pilots of the A series painted their glazed noses to resemble the fighters, so the enemy would not know which plane was the bomber, which was defenceless head-on or the fighter which had 2 forward firing 20mm cannons. I thought this would be a nice touch and add something different.
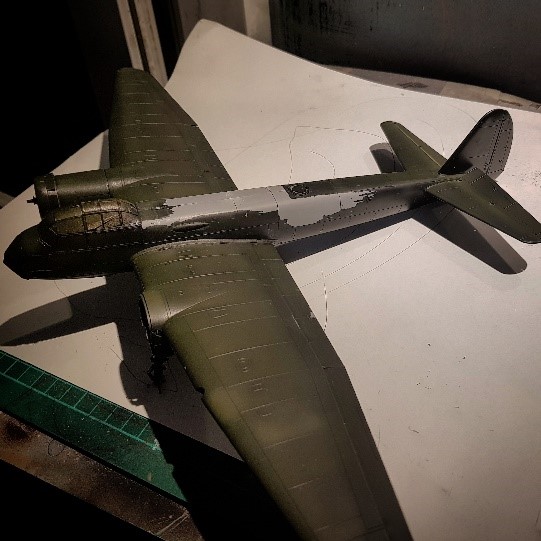
It was once I had started to Mask for the Camo that it become apparent that the primer had not stuck. I thought the world had ended and nearly lost all interest. The sanding process had gone a bit far and the surface was too smooth for the primer to bite. I waited 24hrs for everything to cure and began to blend the edges so it would only need a blow over at best. This worked fine so i carried on, after I had the plane to a level that I wanted I began to finish it off with a clear varnish ready for decals. Adding decals is an art on its own especially the ones that came with the kit (I found these a little thin). Nothing wrong with thin if you want your decals to blend in, it is just they are so fiddly, I had to order another set.
Now I was on the washing stage of the build, many different types of washes when I first started I just thought you used Tamiya panel line accent colour. Which led to many disasters as I never knew this (well I still don’t know) was solvent based. Every time I cleaned an area the paint would also peel this was my mistake, but I kept on making it which put me off washes. I found a clay based wash which had better results as water was used to resoften the clay and move it to places you wanted, but even this gave me problems, if the surface wasn’t smooth the clay would get caught in the molecular surface leaving it looking dirty. So, I thought I’d try something that all the top modellers do and that was an oil wash, I mixed up own wash using thinners and a black oil colour. This was a big risk, looking back at it because I had never played with oils before.
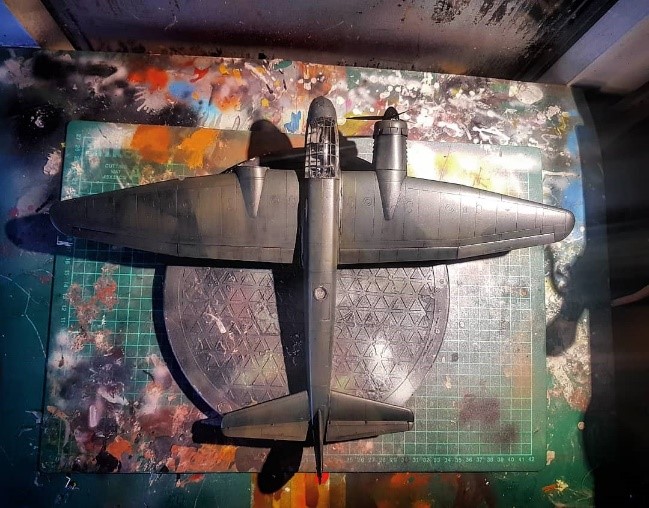
As you can see the oil really tinted the whole model and made it considerably darker I was beginning to lose faith in the best diorama I had ever made. I would just have to settle for another model to give to the kids. I kept attacking it with thinner trying to soak up as much of the oil as I could, which in the end started to eat thru by this time the other decals had arrived and some other 1/48 pieces.
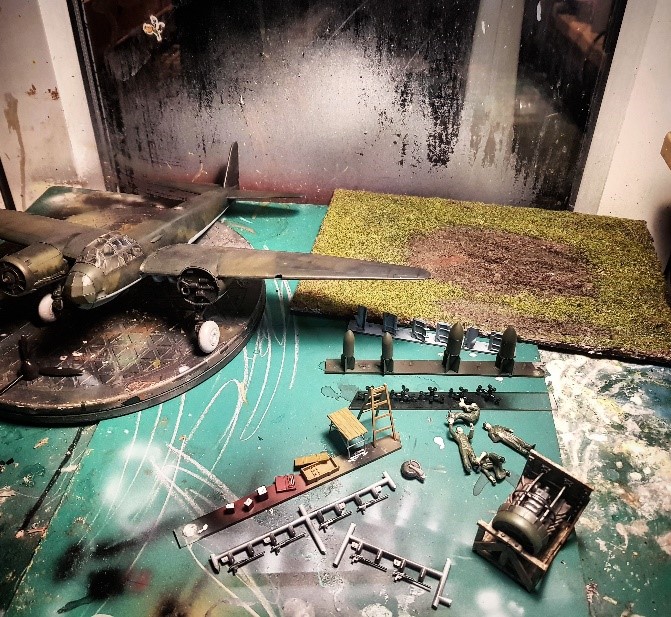

Be the first to comment