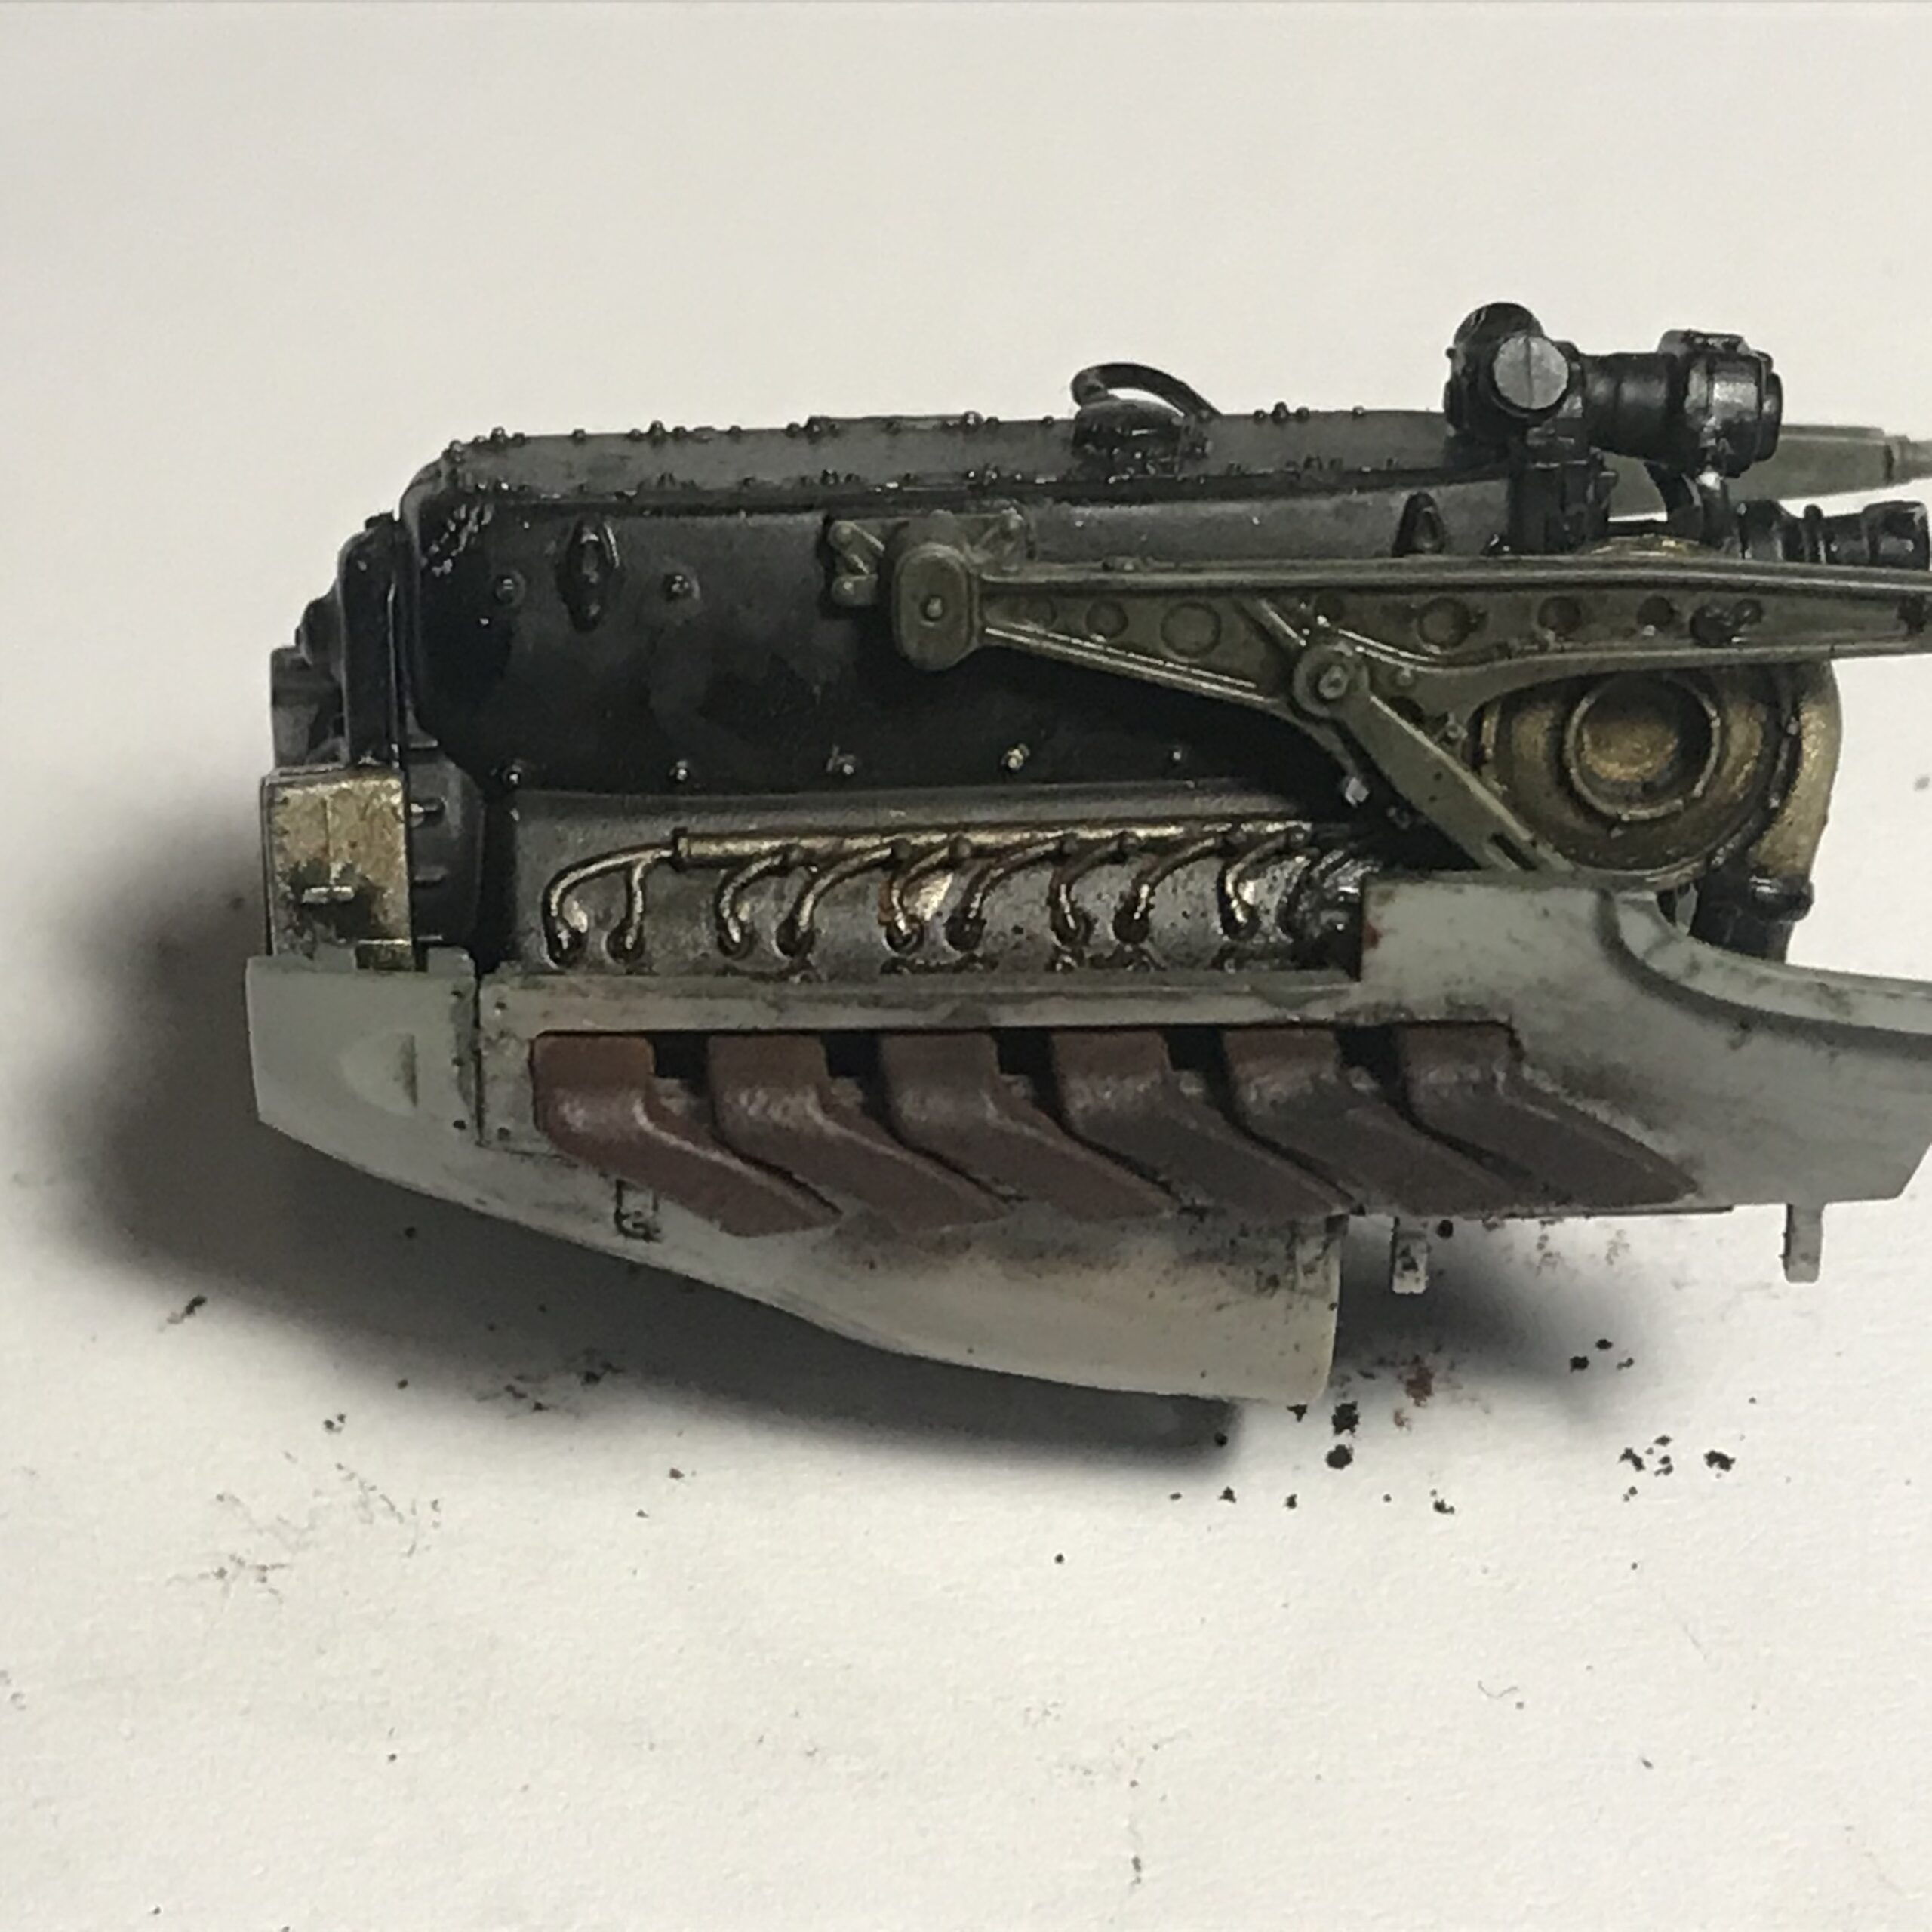
After the cockpit was completed, I assembled the fuselage and then started the landing gear.
At this point you need to be very careful. I made a few mistakes. Instead of showing the right and left landing gear separately, they numbered on a single sample. There is a possibility of reverse insertion, and I have succeeded.
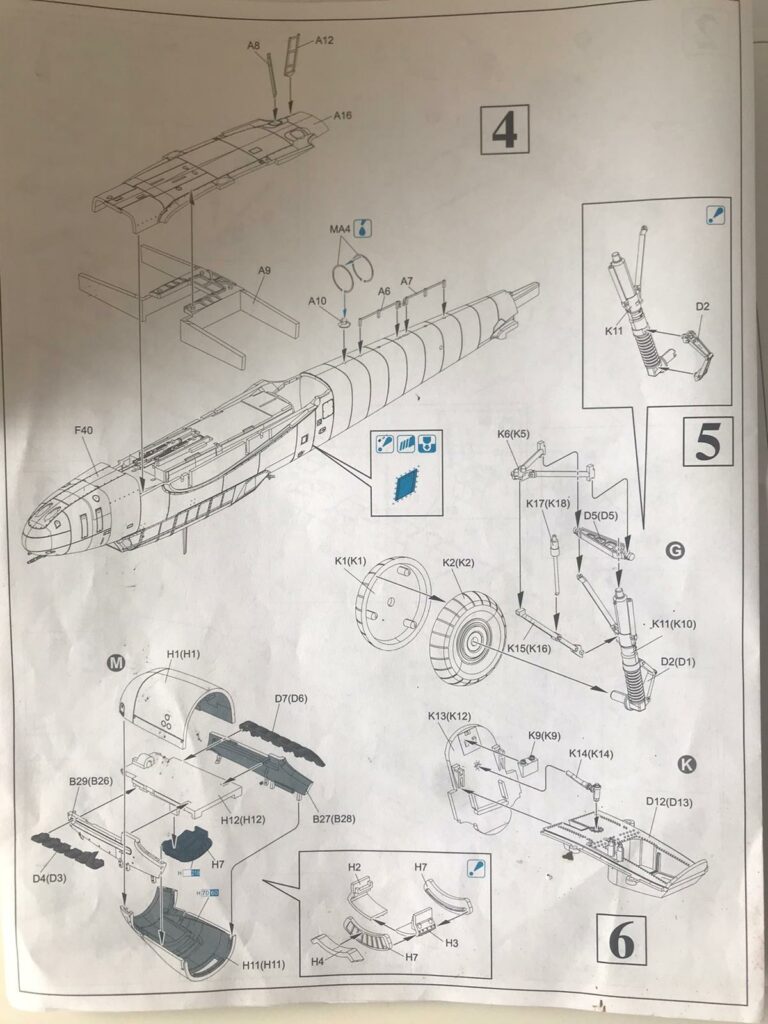
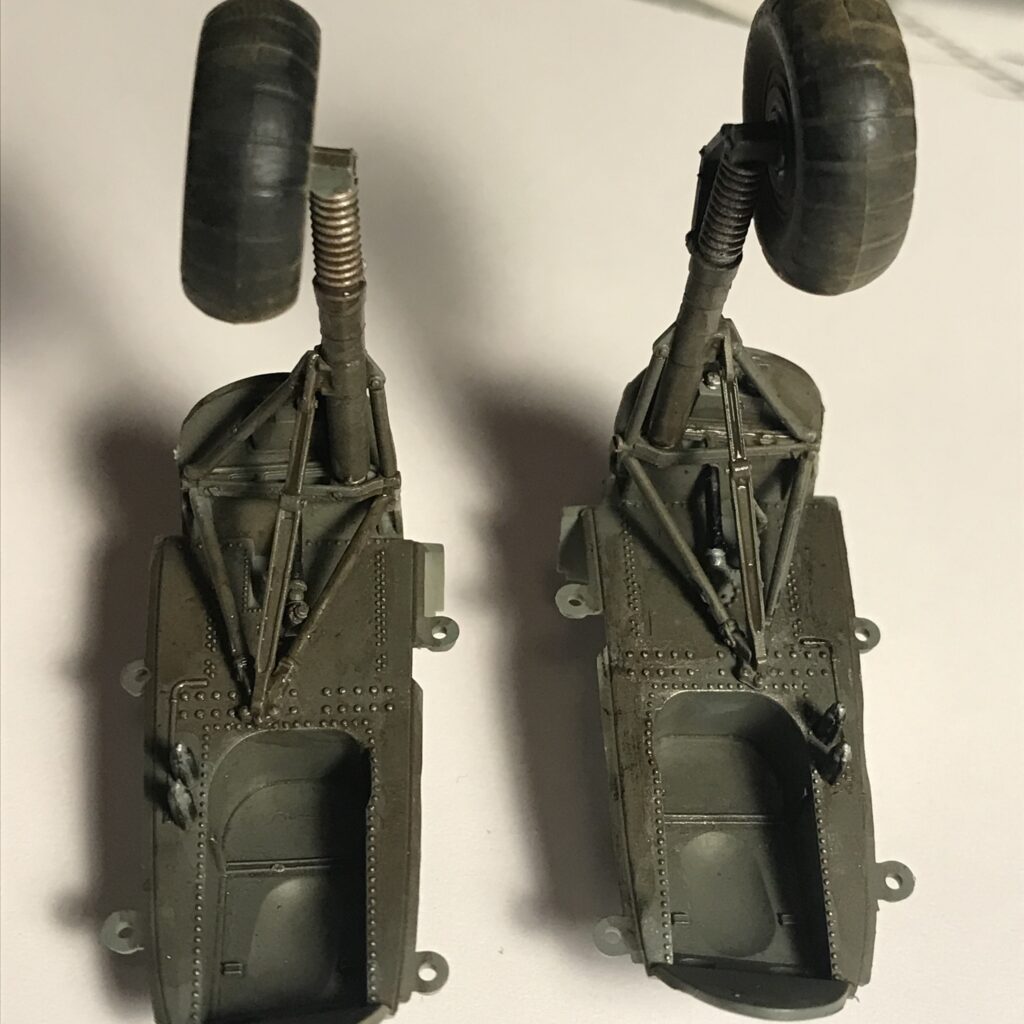
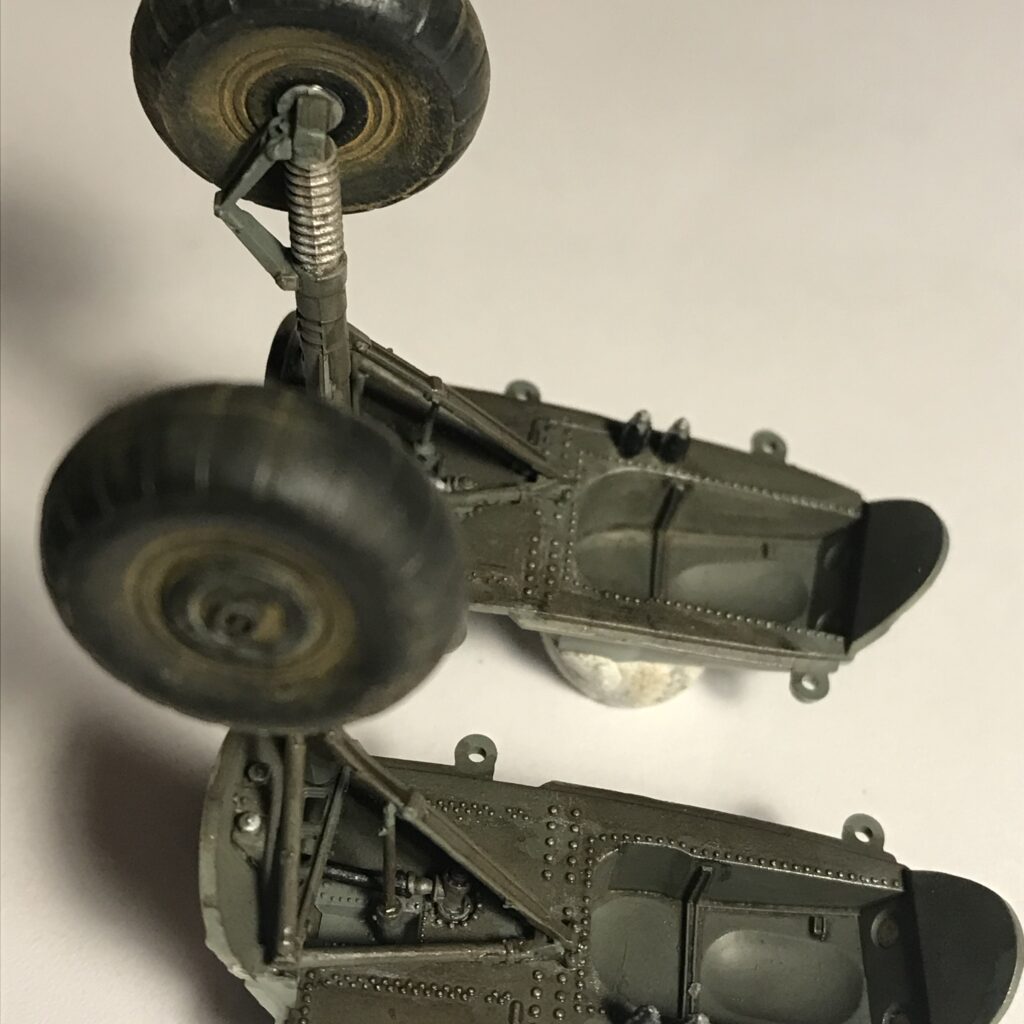
Landing gear is also very detailed. The colors to be used are not mentioned here, but if you’ve made a model of an airplane before, you know what color points should be. I used a number of different types of weathering techniques here.
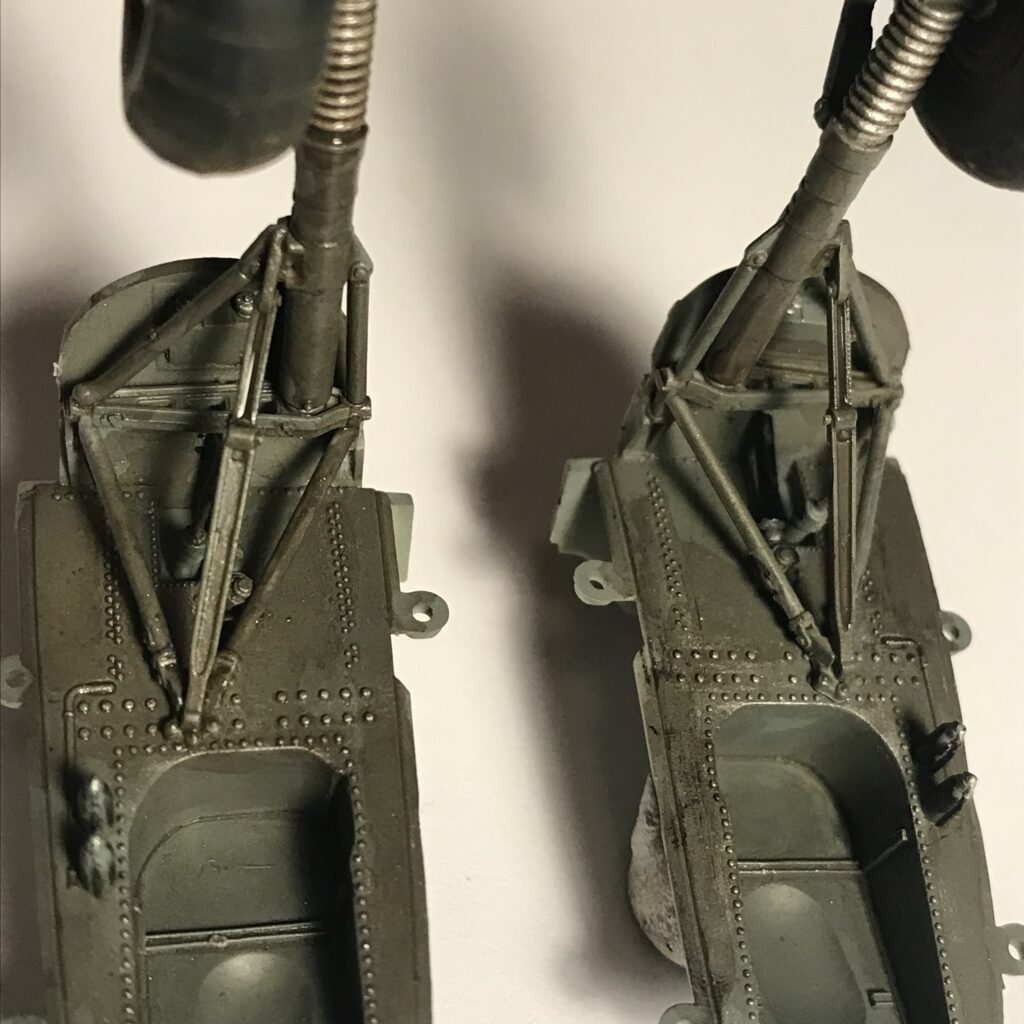
The next step is to decide how to make the engine. Covers can be made in such a way that the motor is completely closed and cannot be seen at all. Another option is to show the engine by leaving the covers open.
I decided to make one open and the other off. I need to work on the details of the engine to be open. You may not make the motor for the off.
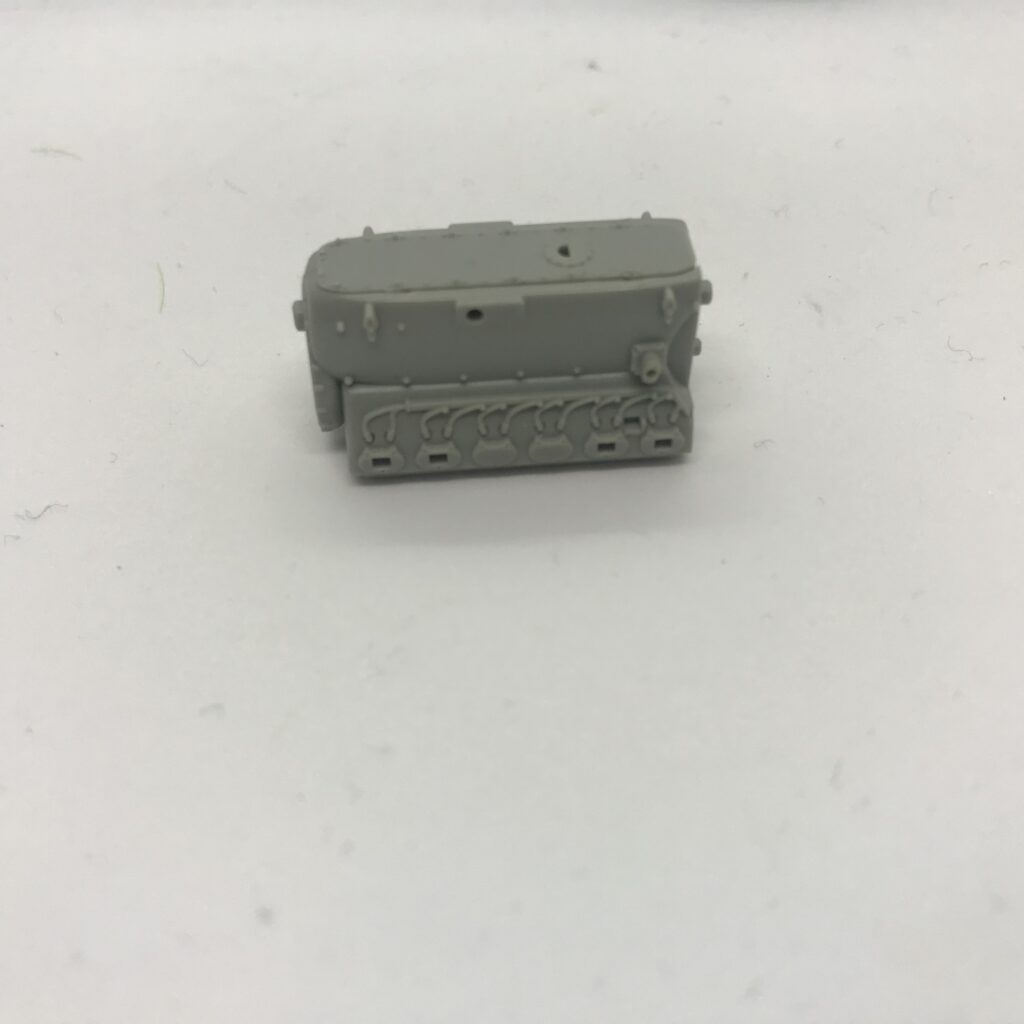
It is important to follow the instructions in sequence after simple assemblies. It can be difficult to combine small details such as cables and position them correctly.
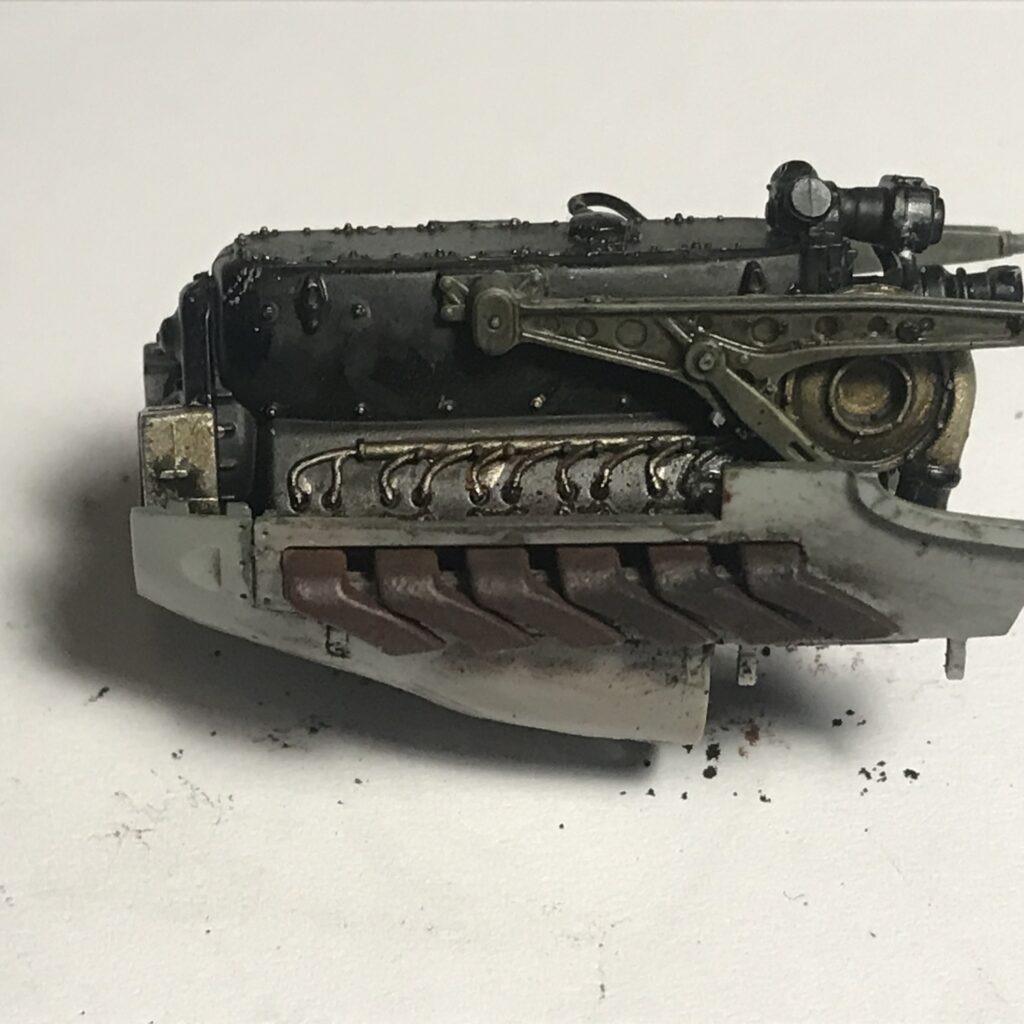
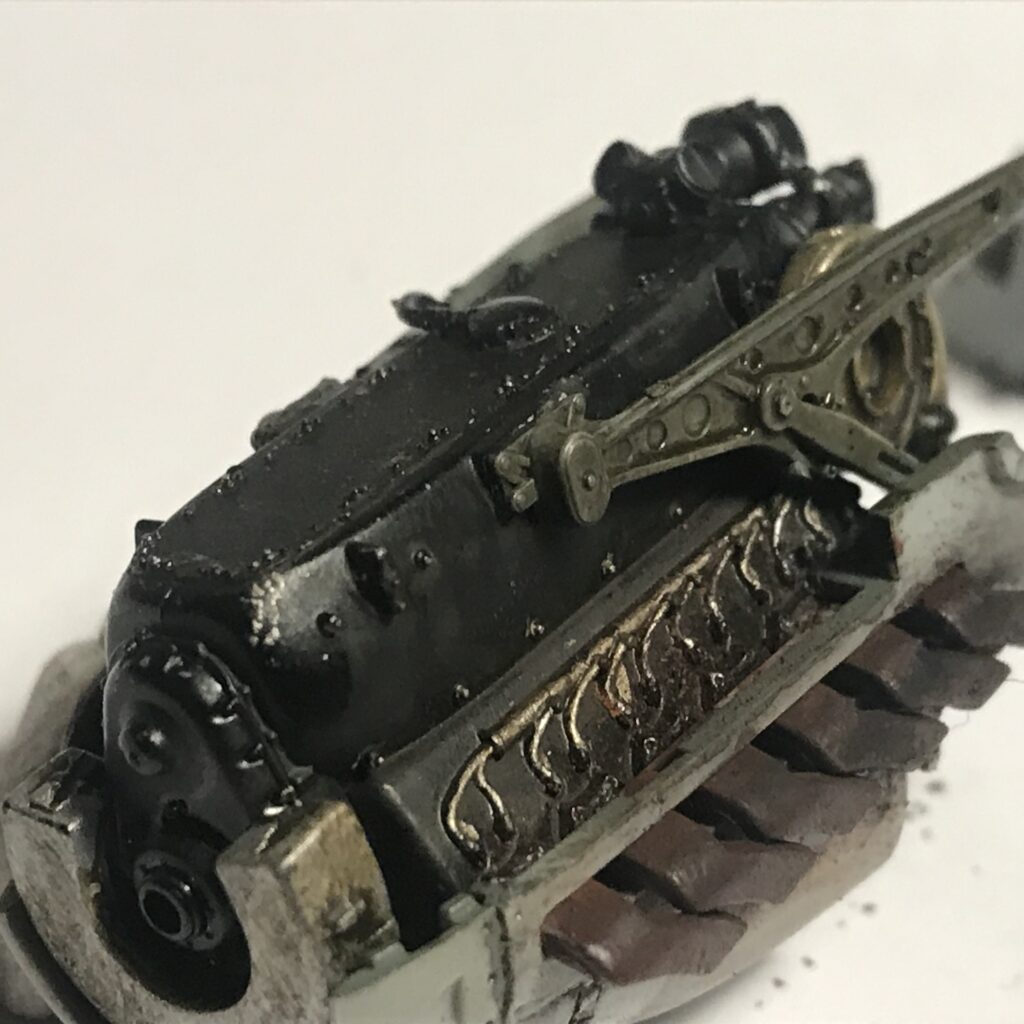
The details under the engine are not visible. If the engine cover is closed, the upper ones will not be visible. That’s why I didn’t make details of the other engine.
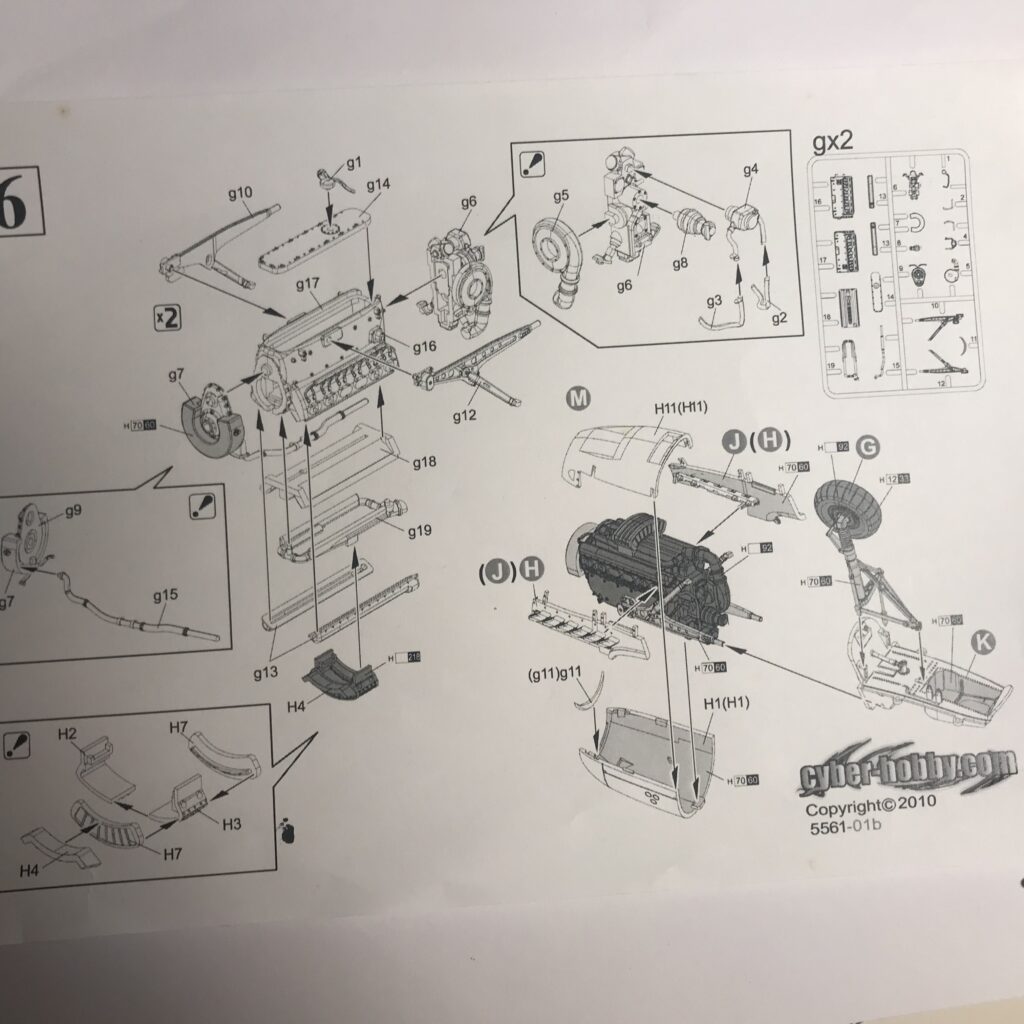
After the engines are finished, the construction of the wings begins. At this stage it is necessary to position the landing gear and the engine correctly. The right and left sides are not fully specified in the manual. Before deciding, you must try and decide which side is on which side and then stick.
Wings also have a lot of detail and options. Flaps can be down or fixed.
Tail making is very simple and fast.
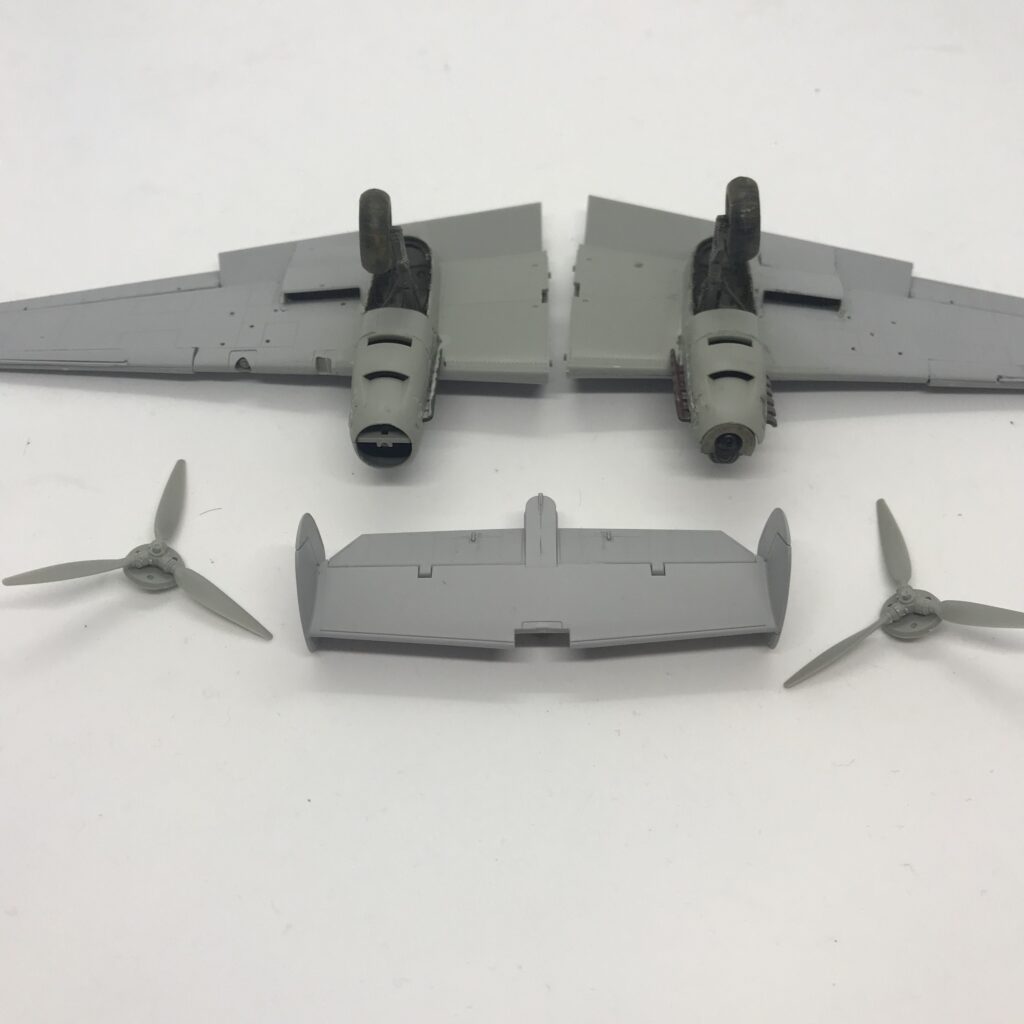
Now we can put all the parts together and experiment without applying glue. When we see that everything is smooth, we will stick and paint.

Be the first to comment