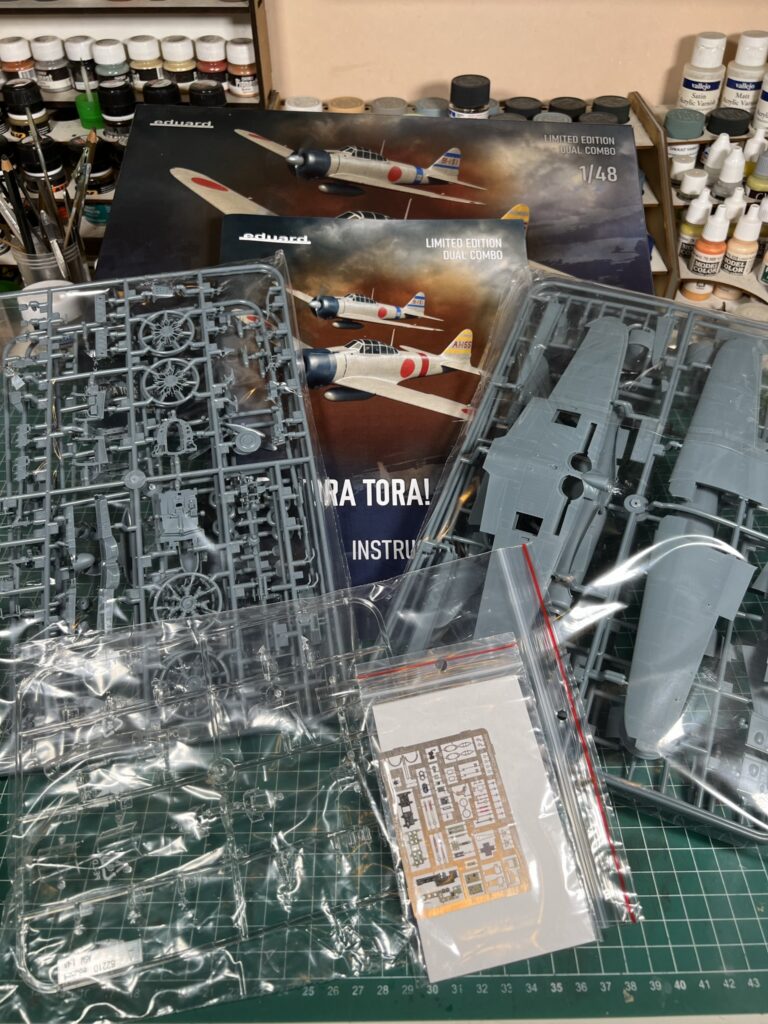
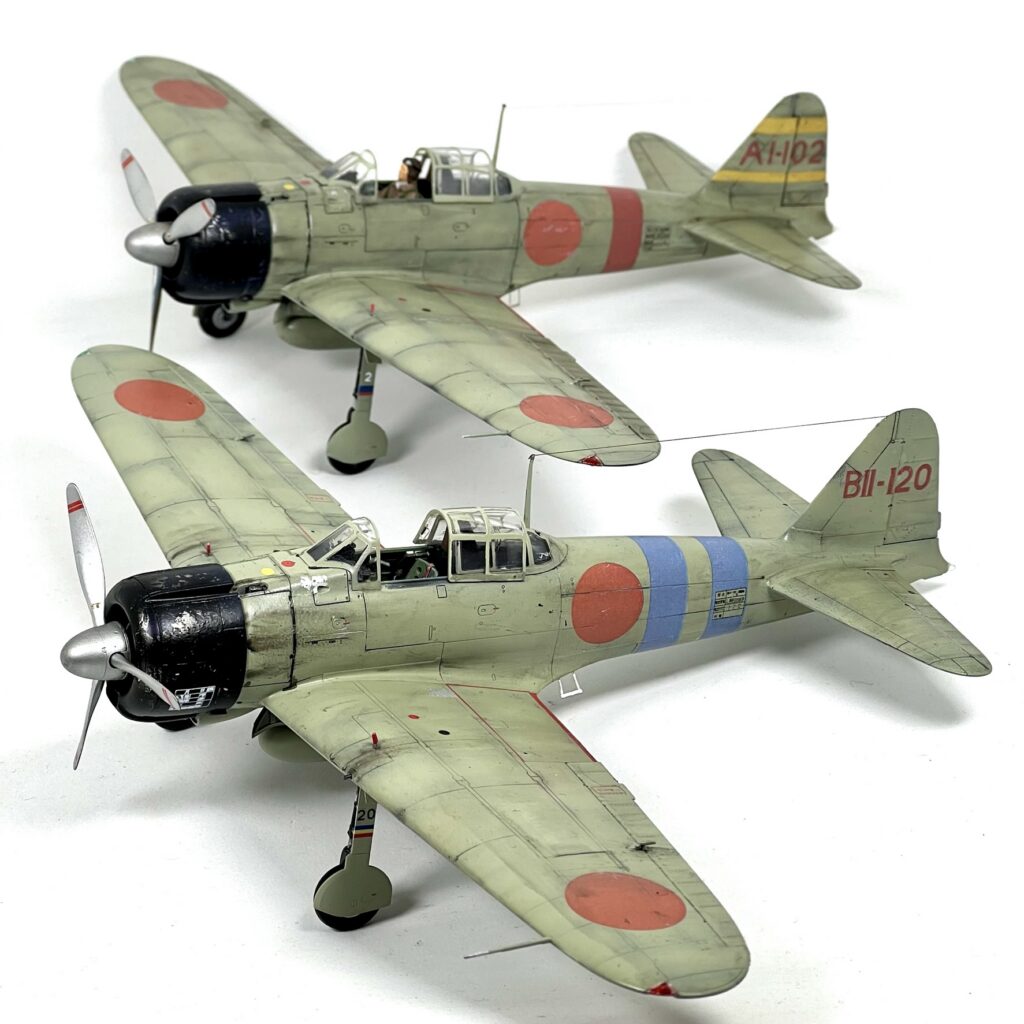
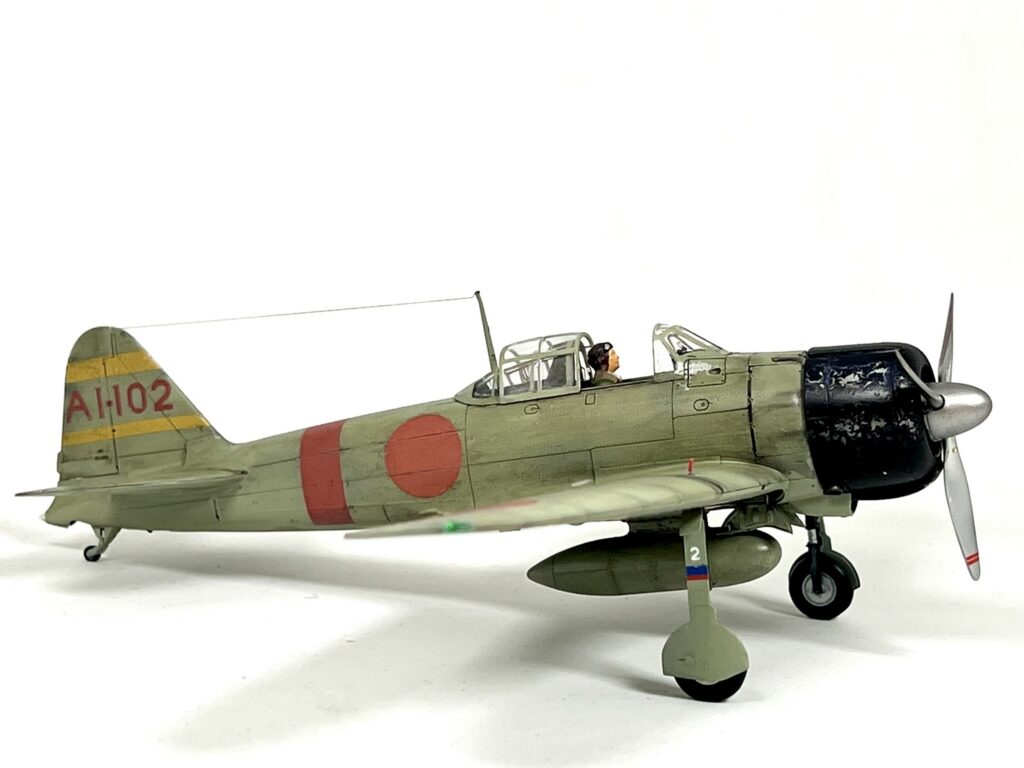
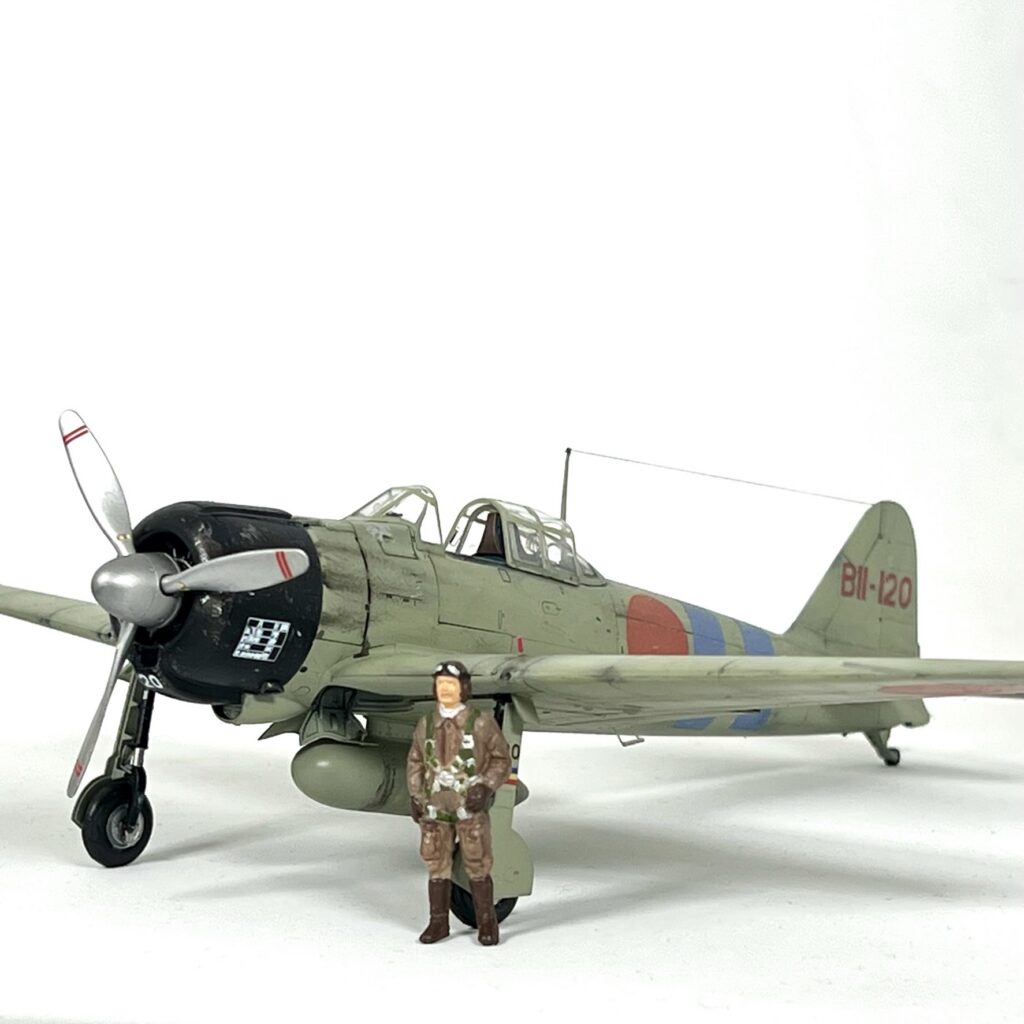
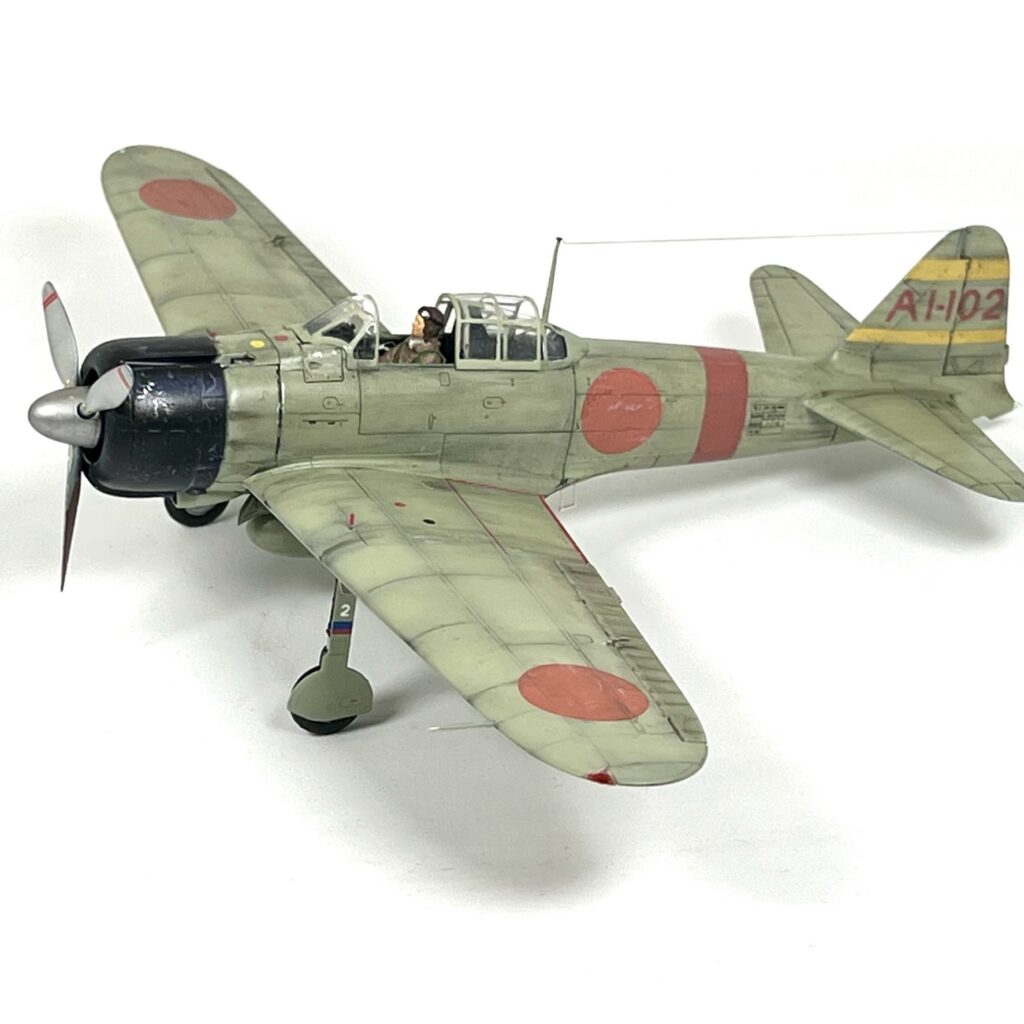
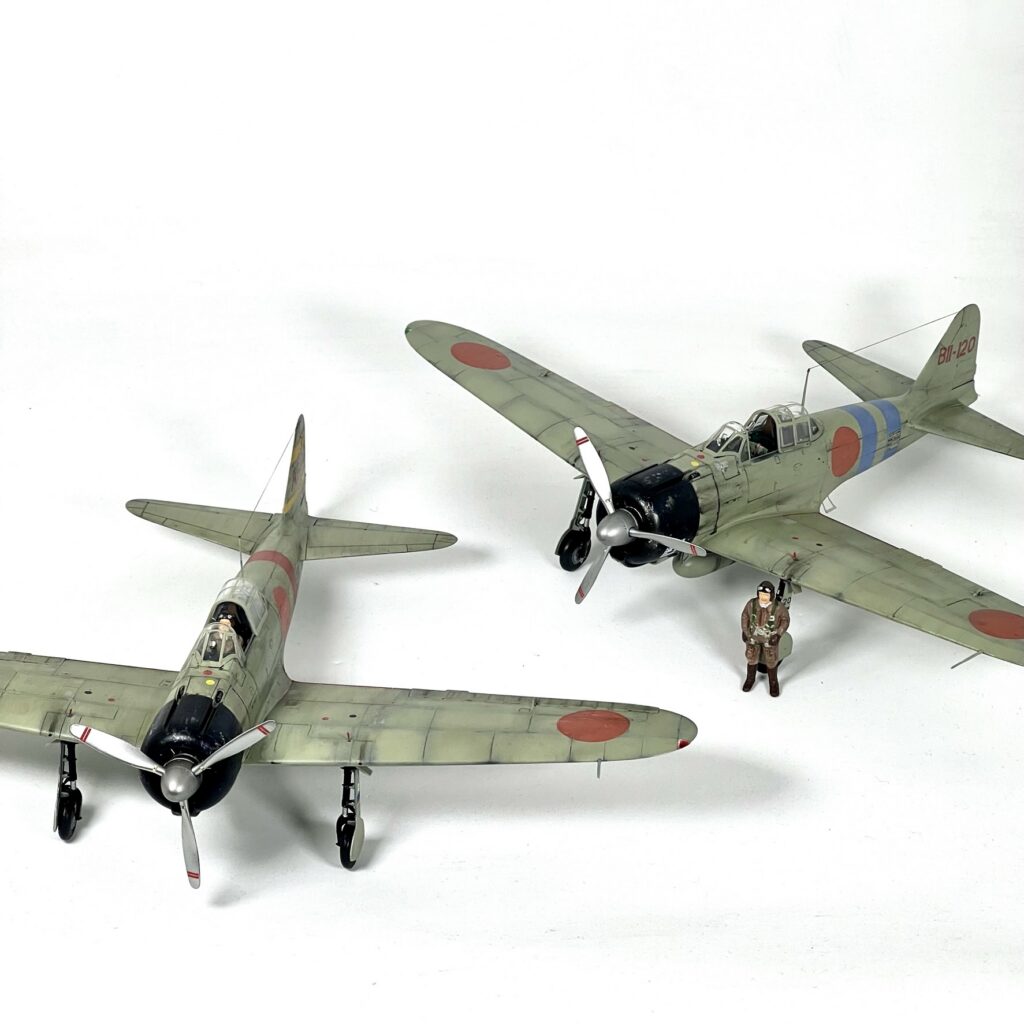
Eduard’s TORA TORA TORA! is a limited-edition Dual Combo: two complete 1/48 A6M2 Zero Type 21 kits in one box, with twelve marking options for Zeros that took part in the attack on Pearl Harbor. Both kits from this box were built, as two aircraft of the second attack wave: AI-102 from the carrier Akagi and BII-120 from Hiryū.
The A6M2 Zero Type 21
The A6M2 Model 21 was the carrier version of Mitsubishi’s Zero, with wingtips that folded so the aircraft fitted the carriers’ lifts. In December 1941 it was the standard fighter of the Japanese carrier force, and it is the version that flew over Pearl Harbor. Its clipped-wing successor has its own dossier: the Mitsubishi A6M3 Zero “Hamp”.
Pearl Harbor
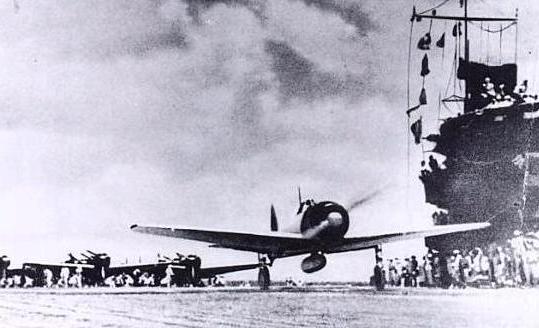
On 7 December 1941 aircraft from six Japanese carriers attacked the US Pacific Fleet at Pearl Harbor in two waves, the second following the first by about an hour. The second wave’s fighter escort of some 35 Zeros was led by Lt. Saburō Shindō. Their task was to deal with any American fighters that rose to meet the formation and to strafe airfields on Oahu, including Kaneohe and Wheeler Field.
AI-102, Lt. Saburō Shindō
AI-102 was the aircraft of Lt. Saburō Shindō, who led Akagi‘s nine Zeros in the second wave. The tail code begins with AI for Akagi, and the yellow stripes on the tail mark a leader’s aircraft.
BII-120, PO1c Shigenori Nishikaichi
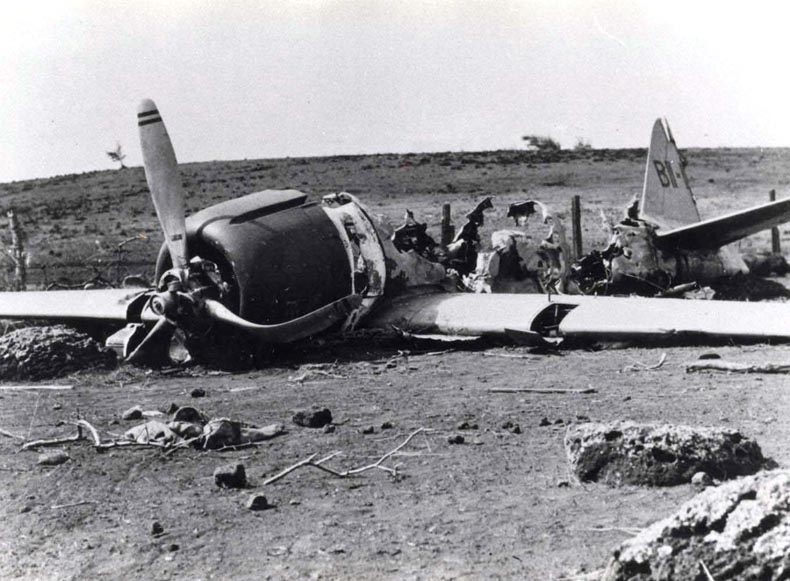
BII-120, construction number 2266, was flown by PO1c Shigenori Nishikaichi of Hiryū‘s fighter group in the second wave. After the attack Nishikaichi landed on Niʻihau, the small island west of Kauaʻi, and the aircraft and its pilot became part of what is known as the Niʻihau Incident.
The build
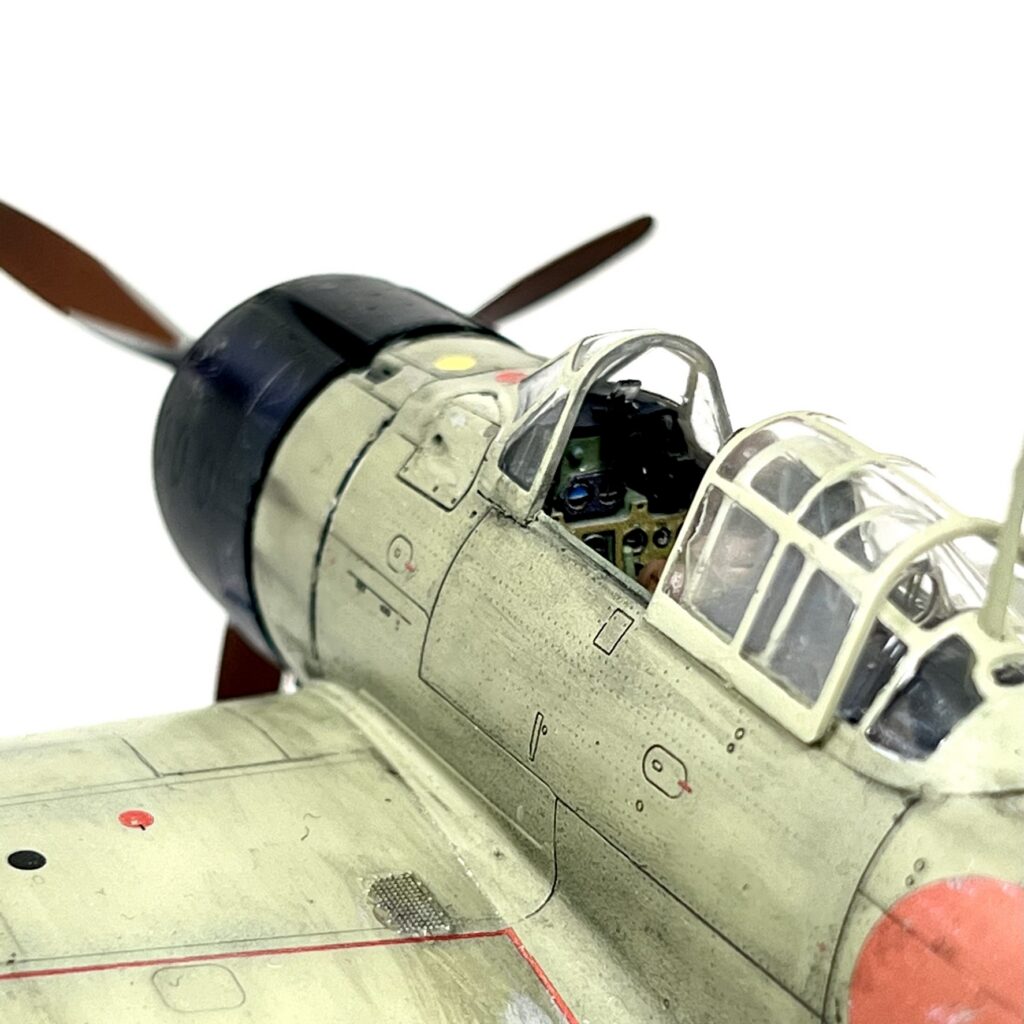
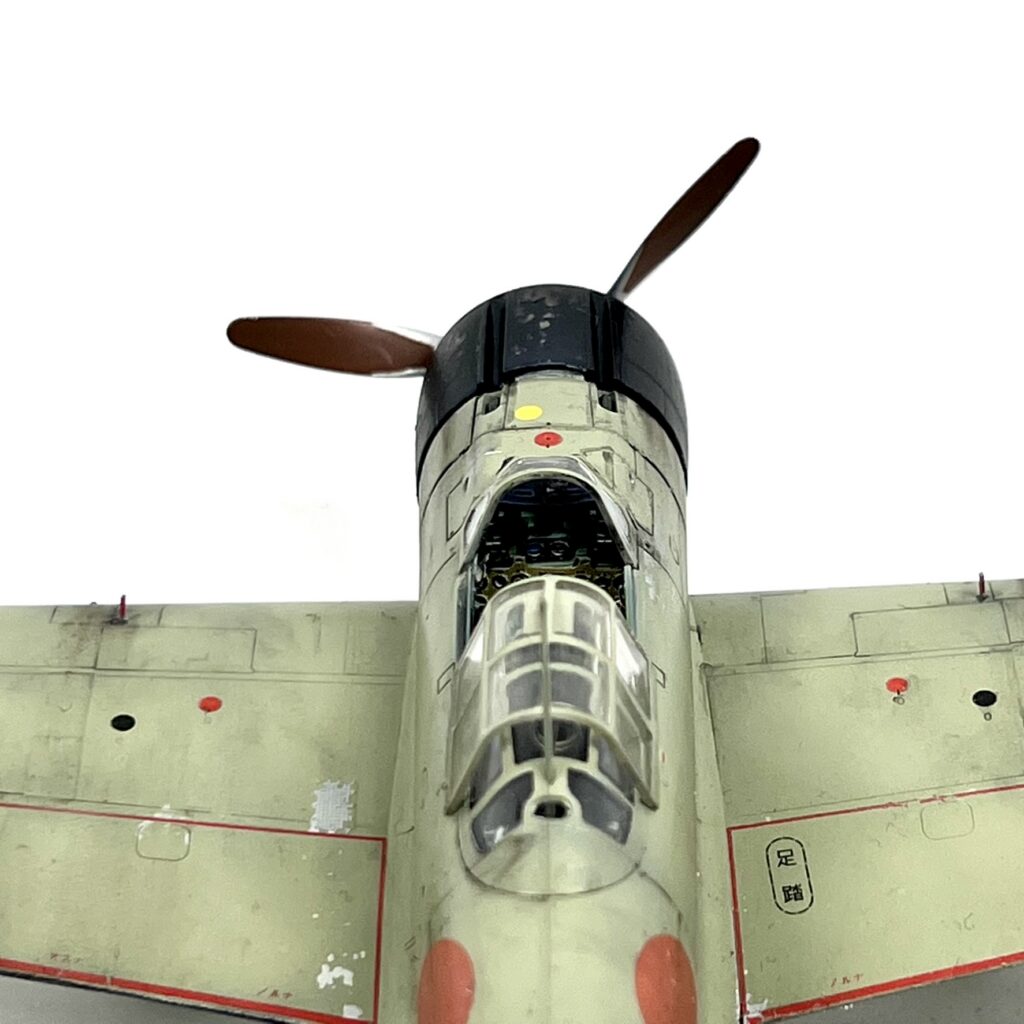
Both aircraft were built from the same box. The Dual Combo contains two full sets of sprues, pre-painted photo-etched parts and painting masks for each aircraft, so the two Zeros were assembled side by side.
Cockpits and engines
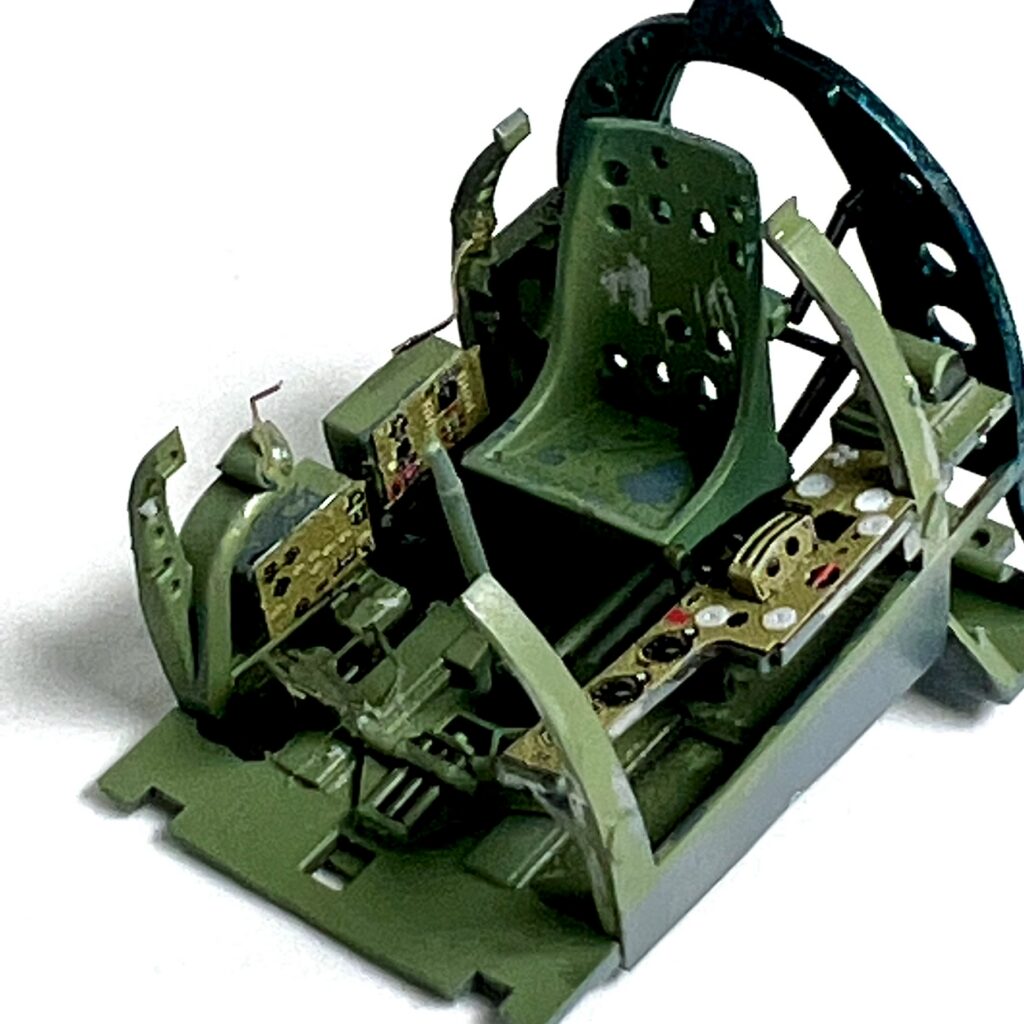
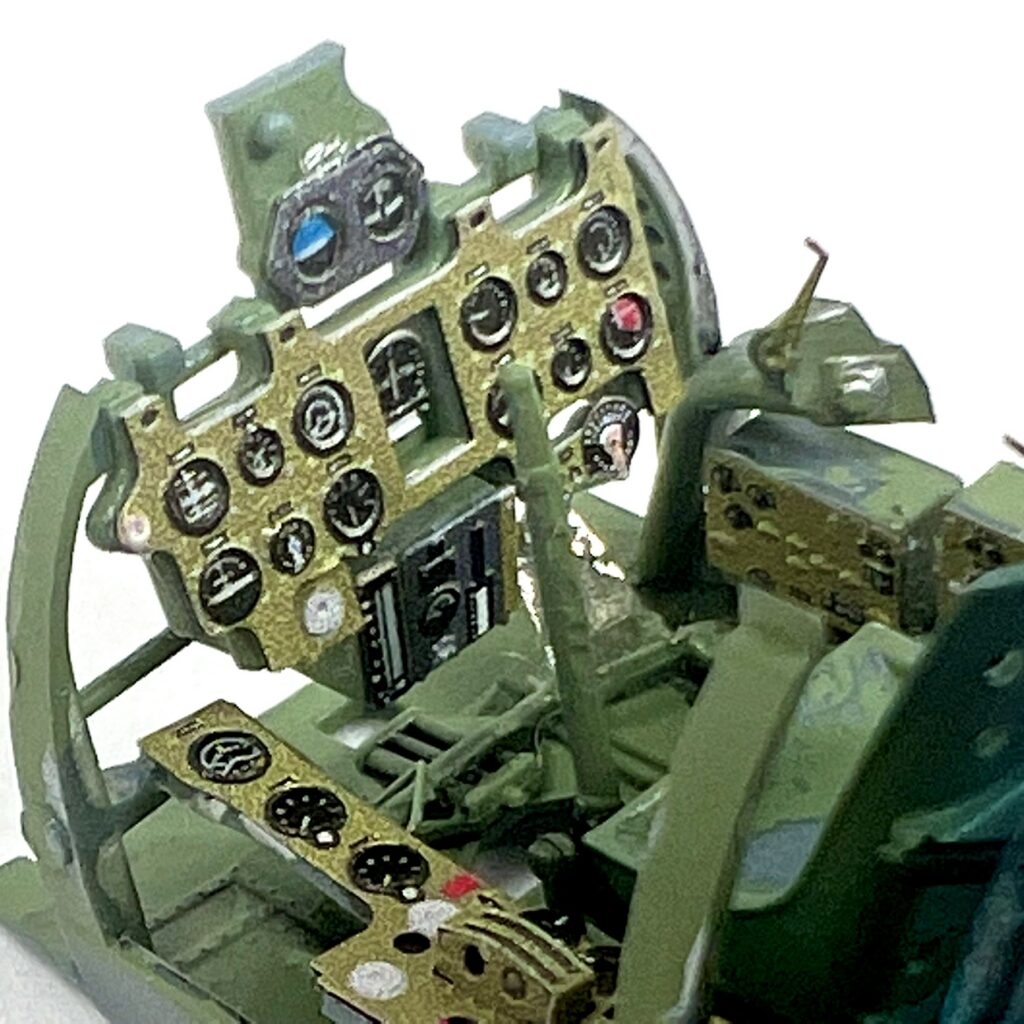
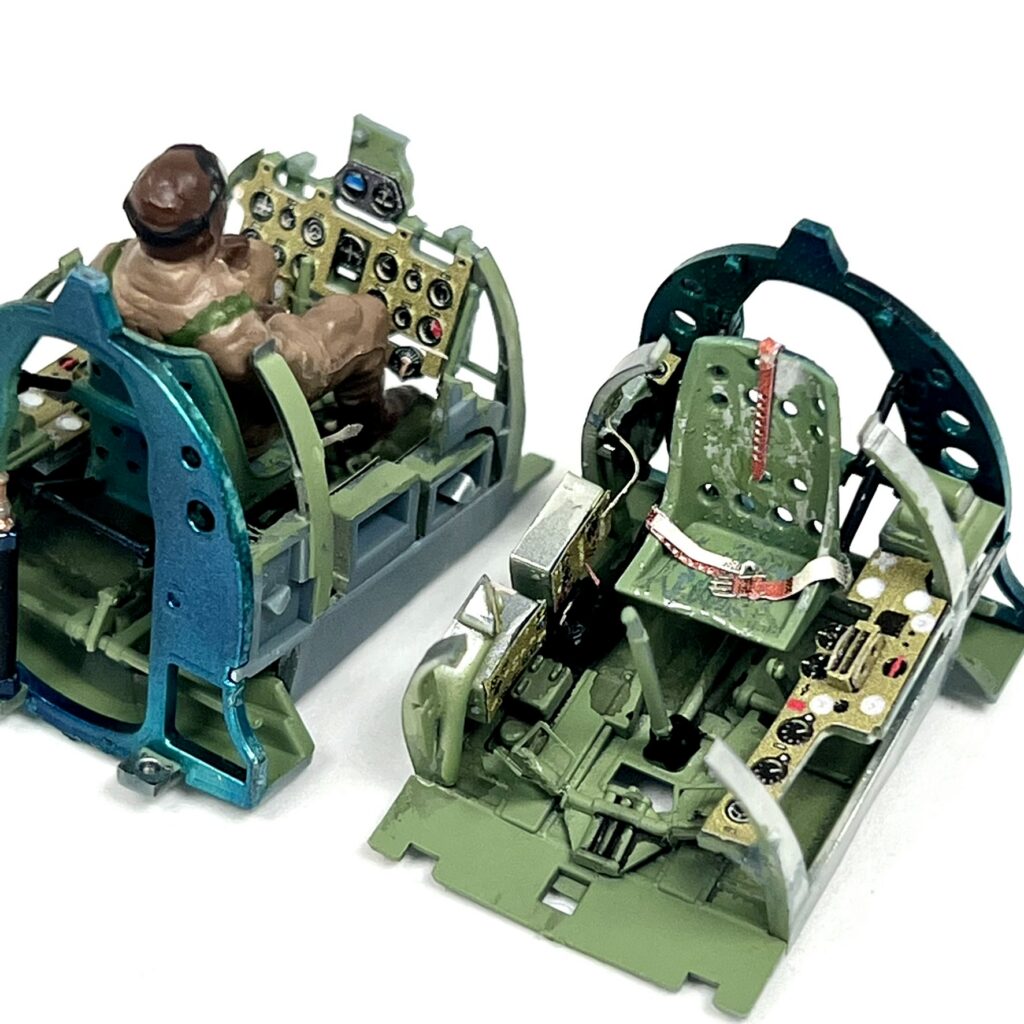
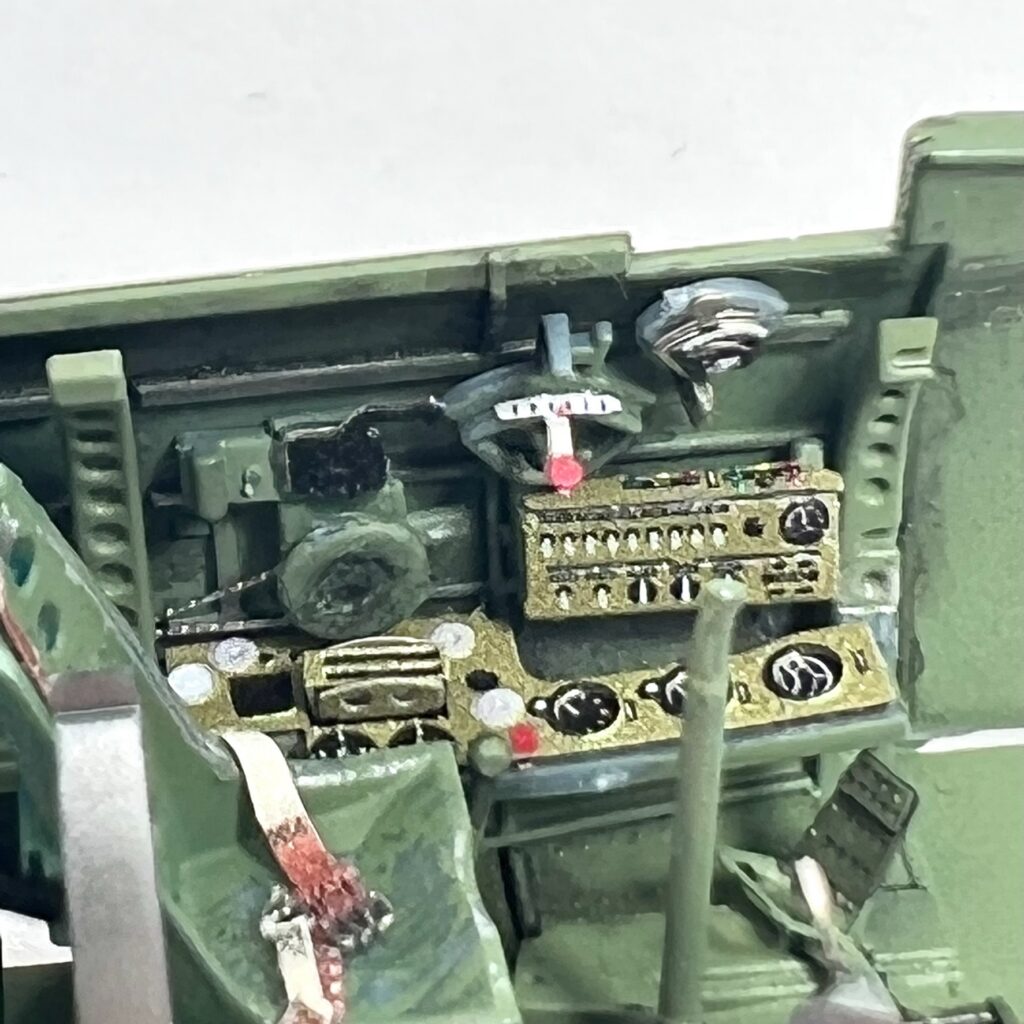
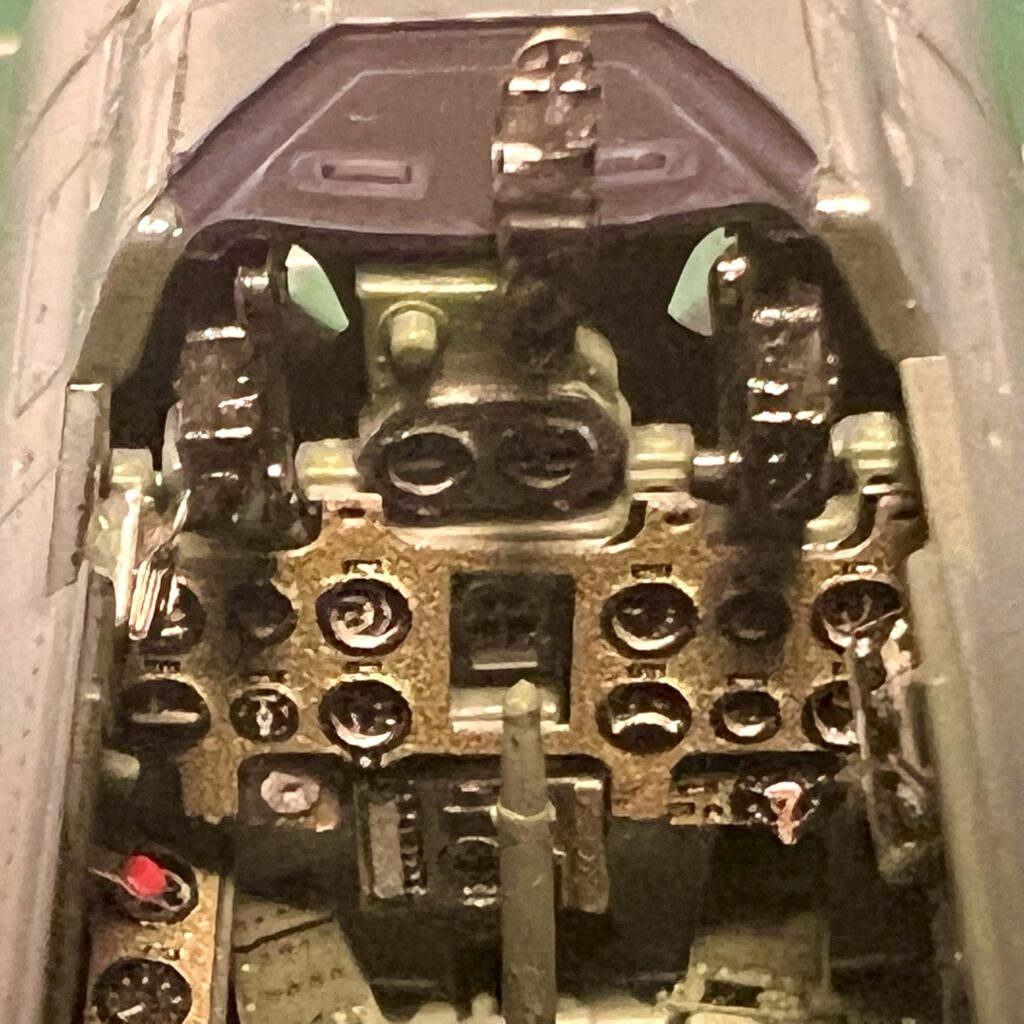
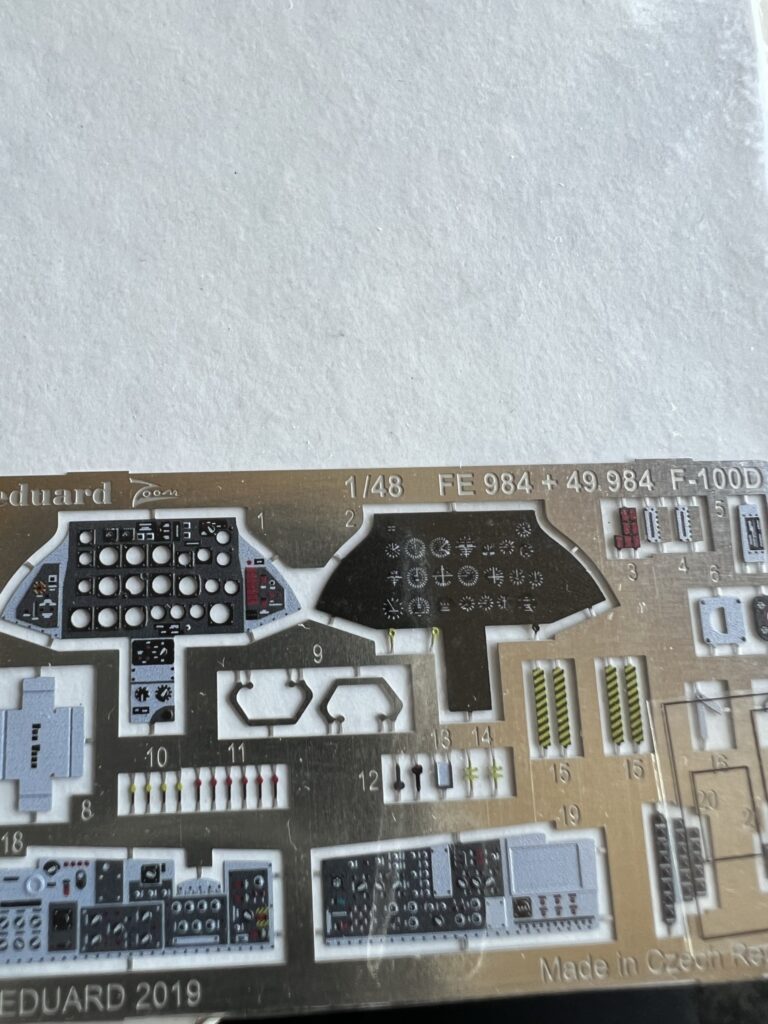
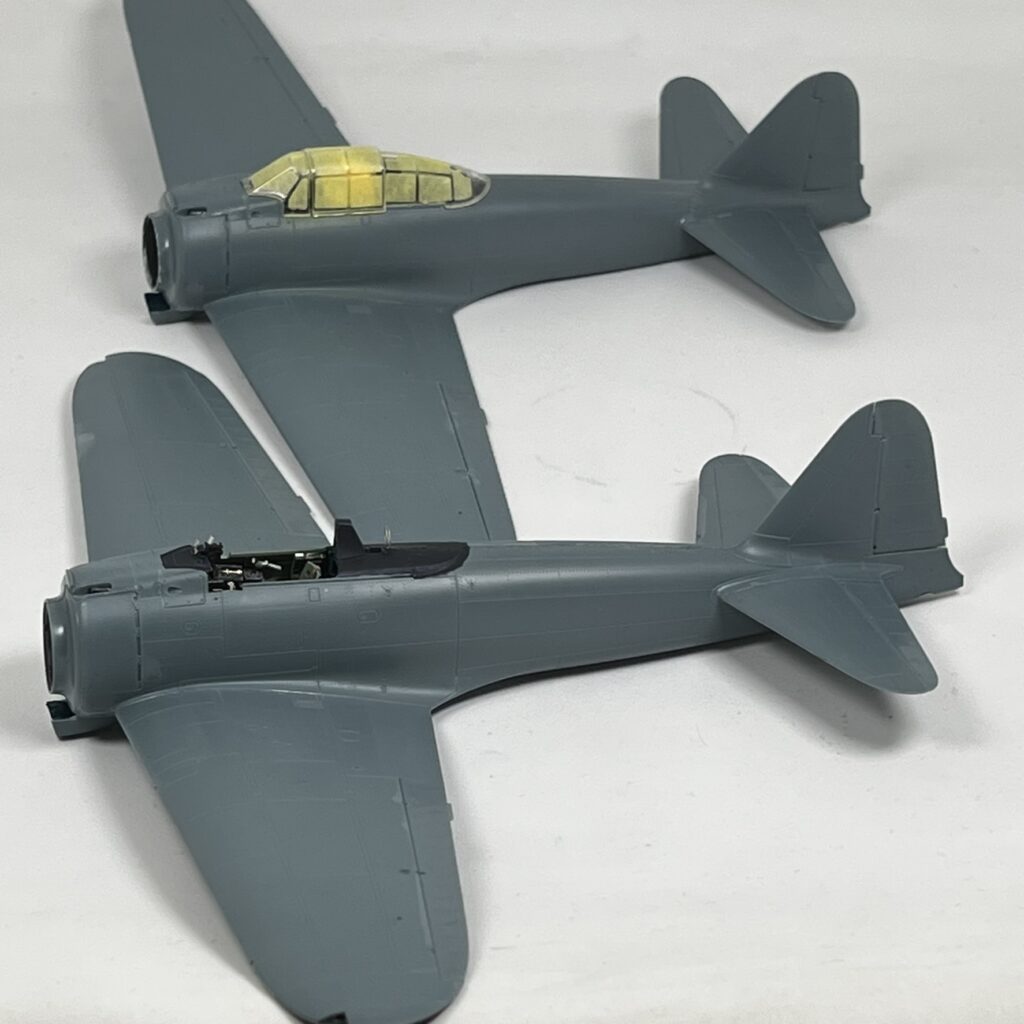
Paint and markings
Both aircraft wear the overall grey-green scheme of the Pearl Harbor carrier Zeros and the kit’s markings for AI-102 and BII-120. Tamiya paints were used throughout.
Gallery
Leave a Reply