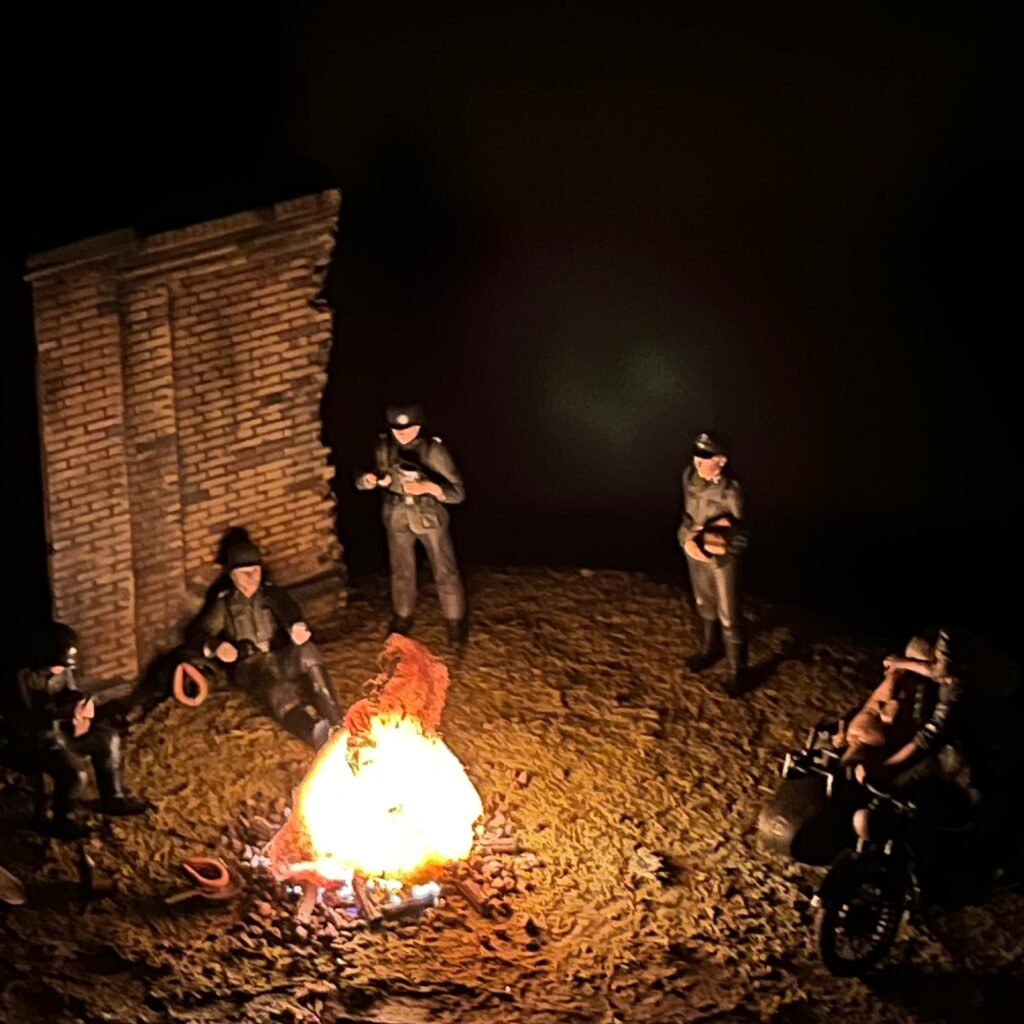
A diorama does not need a battle at its centre. Sometimes a few soldiers taking a break, a parked motorcycle and the glow of a small fire are enough to tell a story. For Dinner at War, I brought together three 1/35-scale kits from Tamiya, Zvezda and MiniArt to create just such a moment.
A brief pause in wartime
Military modelling often focuses on vehicles, weapons and movement. For this project, I wanted to portray something quieter: a handful of soldiers stopping for a meal and a little rest while the war continues beyond the scene.
I chose three kits for the composition: Tamiya 35129 German Soldiers at Rest for the figures and food accessories; Zvezda 3607 German Motorcycle R-12 with Sidecar and Crew for the motorcycle; and MiniArt 35547 Brick Wall to establish the setting. All three are in 1/35 scale, which made them a natural combination for a single vignette.
I was pleased with the overall quality of the kits. Most parts had clean, smooth surfaces, leaving me more time to concentrate on the placement of the figures and the atmosphere I wanted to create.
Tamiya’s resting soldiers: Giving the scene a story
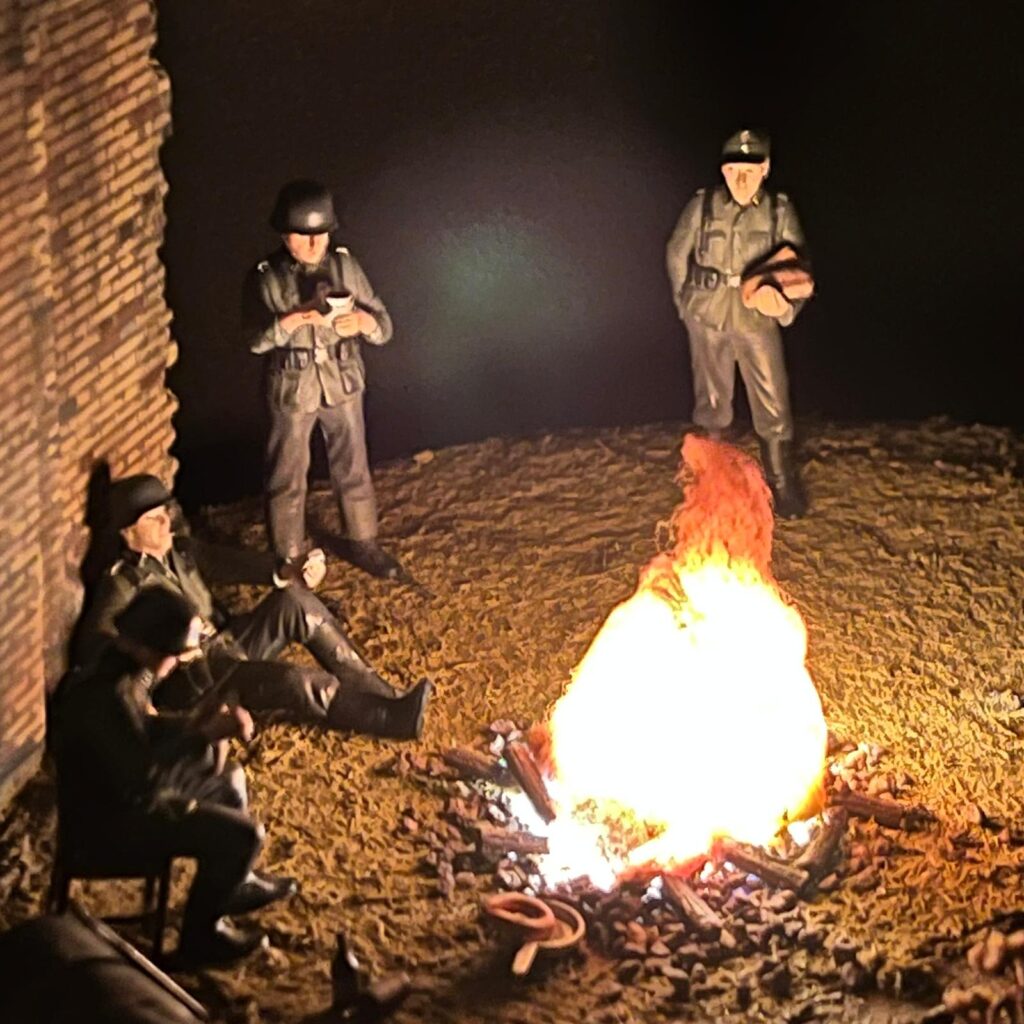
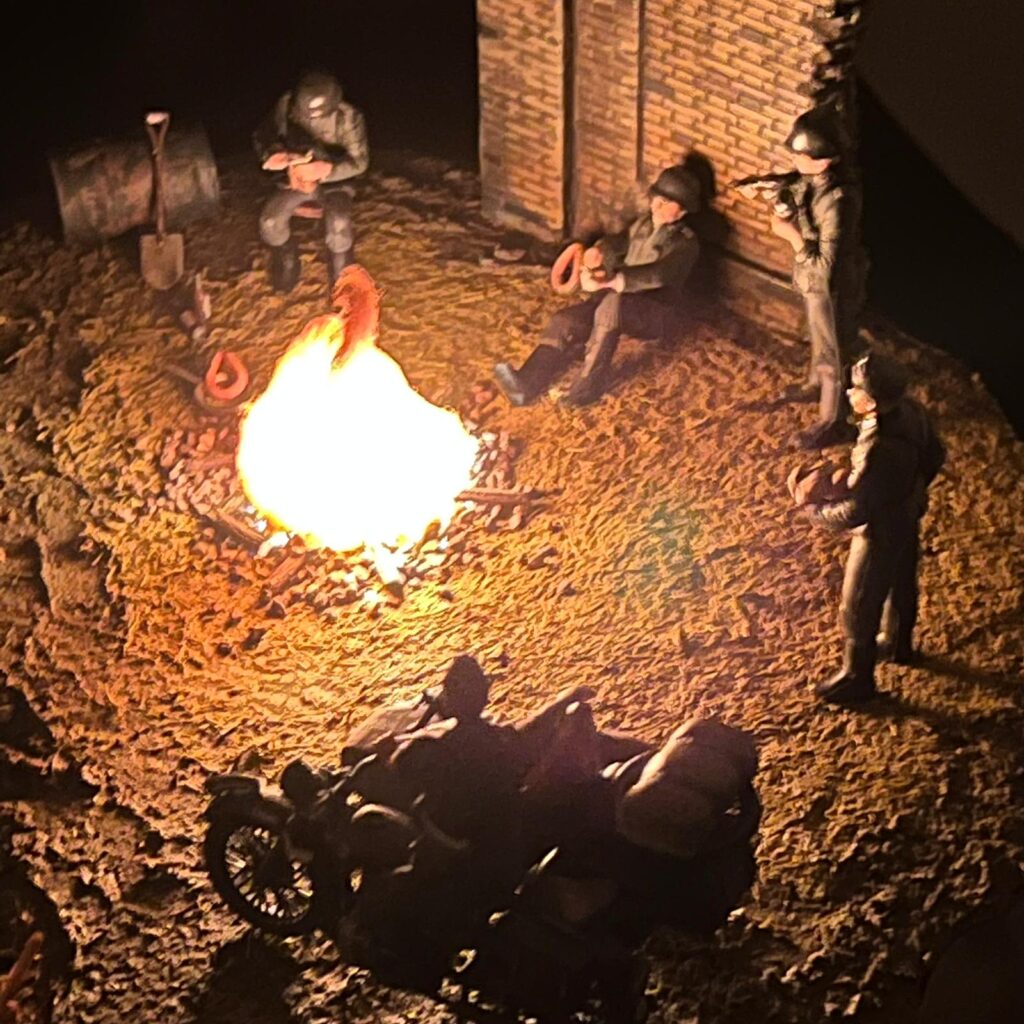
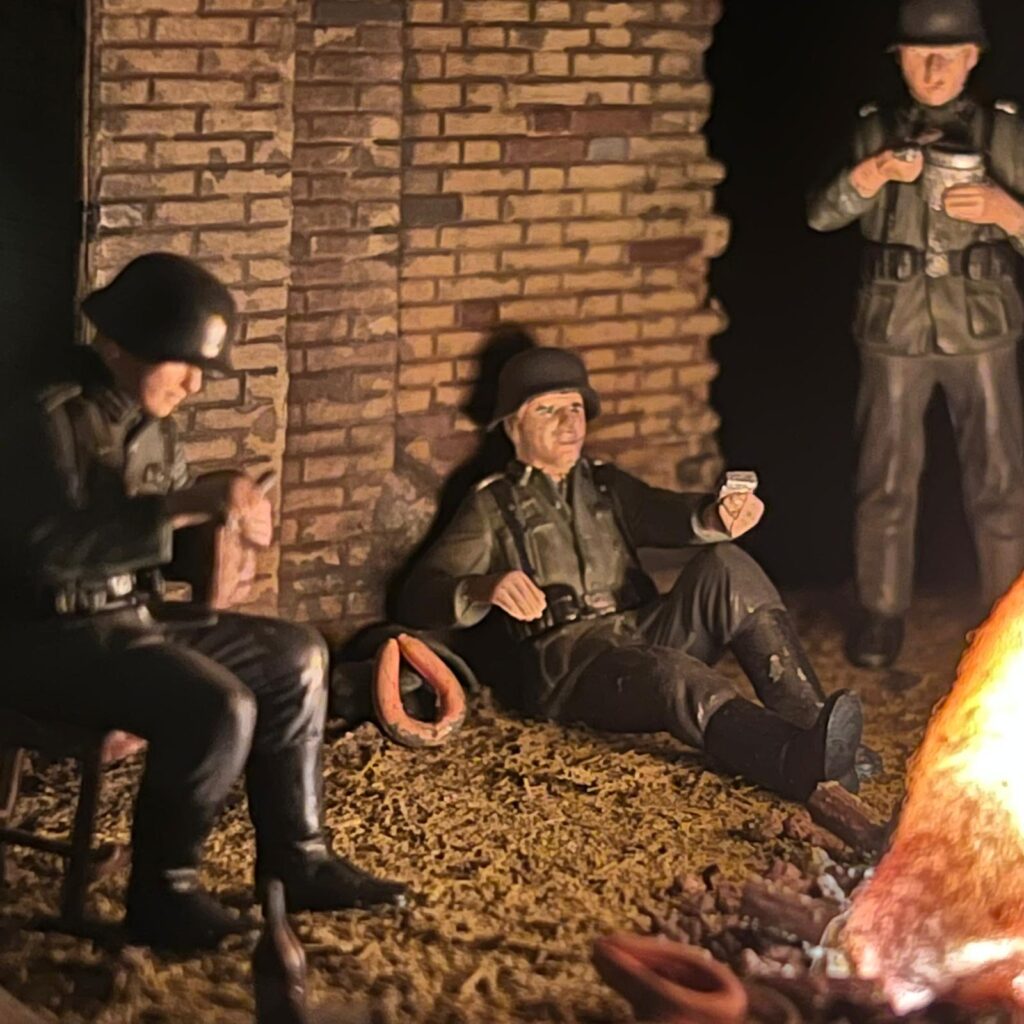
One detail I particularly liked about Tamiya’s German Soldiers at Rest set was that the figures had distinct facial expressions. They were also relatively straightforward to position. That mattered because I wanted the viewer to see more than a military unit: I wanted to capture a brief return to the ordinary routines of daily life.
The set includes small accessories such as bread, a pan and food containers. They might seem insignificant on their own, but they helped turn a group of resting figures into a recognizable mealtime scene.
I treated the arrangement of the figures and the spaces between them as part of the storytelling. The goal was not simply to display three model kits together, but to make their different elements feel like a single moment.
Zvezda’s BMW R12: The motorcycle in the scene
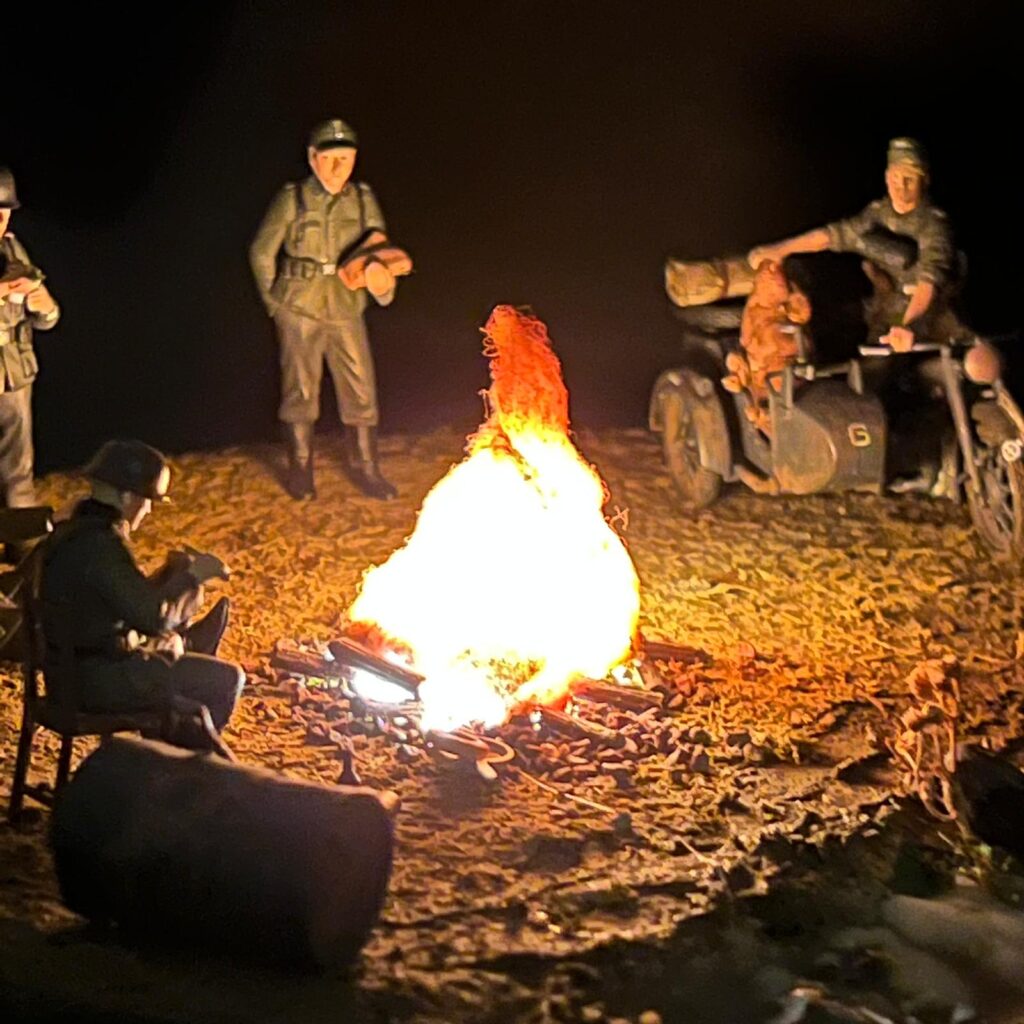
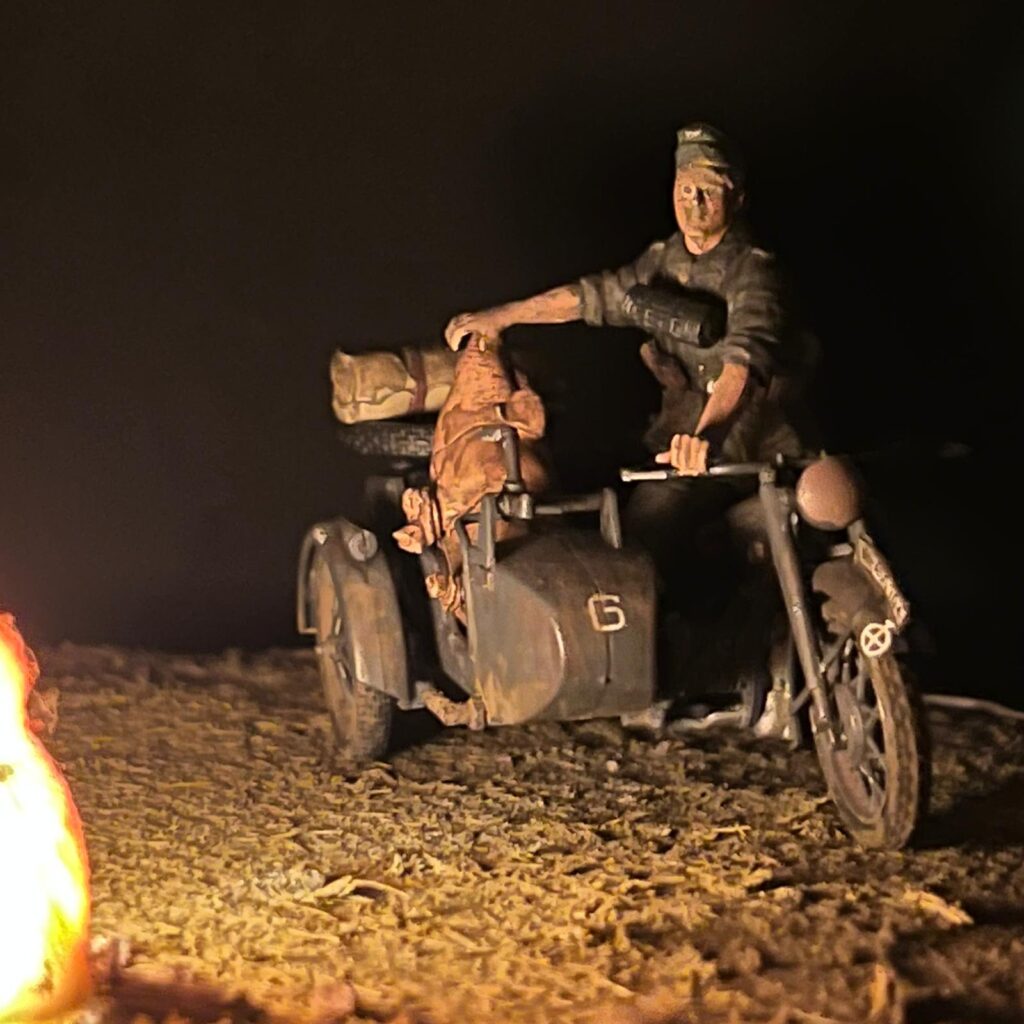
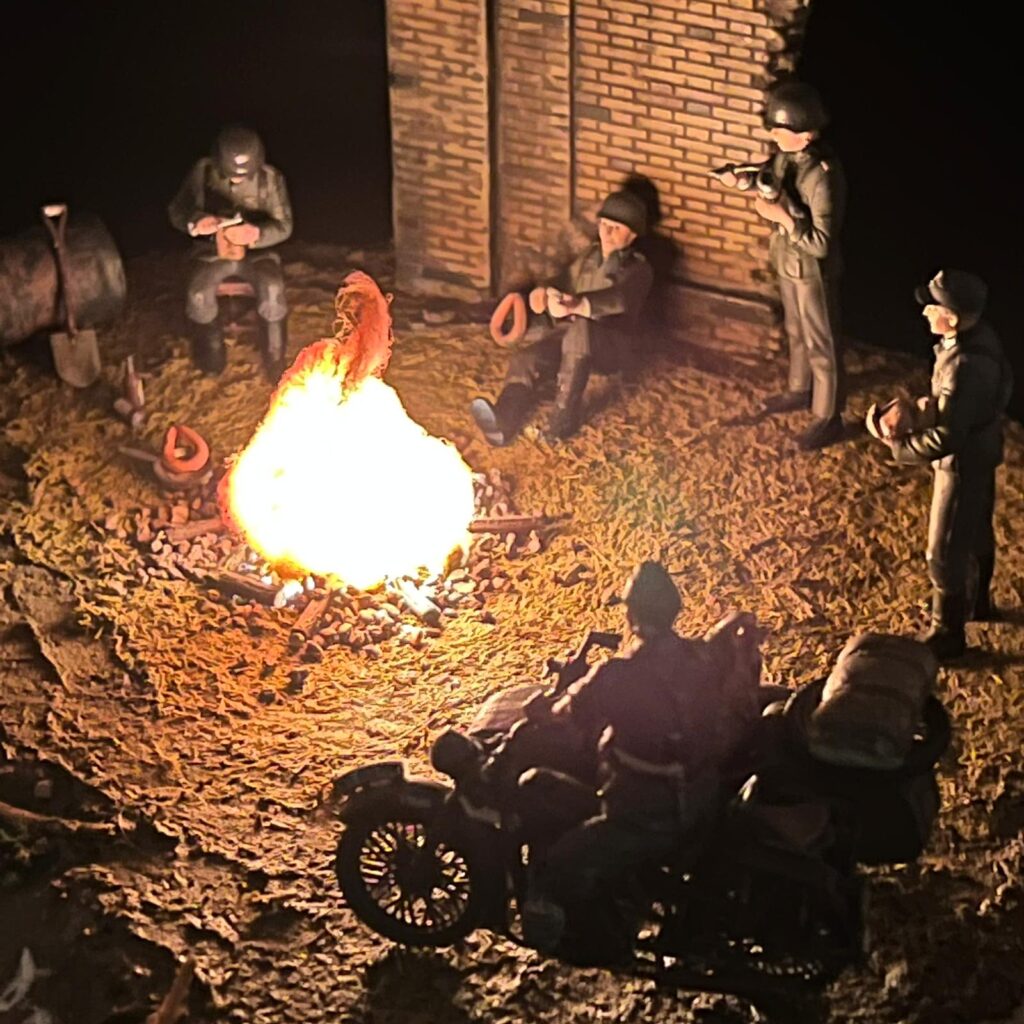
The motorcycle is my build of Zvezda kit 3607, the BMW R12. I found the kit detailed for its size and would rate its construction as moderately demanding. Some of the smaller mechanical parts required care, while the rider figure fitted the motorcycle particularly well.
I had also photographed the R12 as a standalone model. I painted the main body with Tamiya XF-63 German Grey, using black and metallic shades for details and warmer tones for leather and weathered surfaces. I used pigments and AK Rust Deposit to build up the rust effects, and XF-15 Flat Flesh on the rider figure. These are records of the motorcycle build—not a confirmed paint list for Tamiya’s resting soldiers or the MiniArt wall.
The motorcycle’s engineering, wartime history, Zvezda kit, full ten-colour Tamiya acrylic paint record and individual model photographs are covered in my separate BMW R12: From the Open Road to the Front Line dossier.
Related dossier: BMW R12: From the Open Road to the Front Line
MiniArt’s brick wall: Establishing the setting
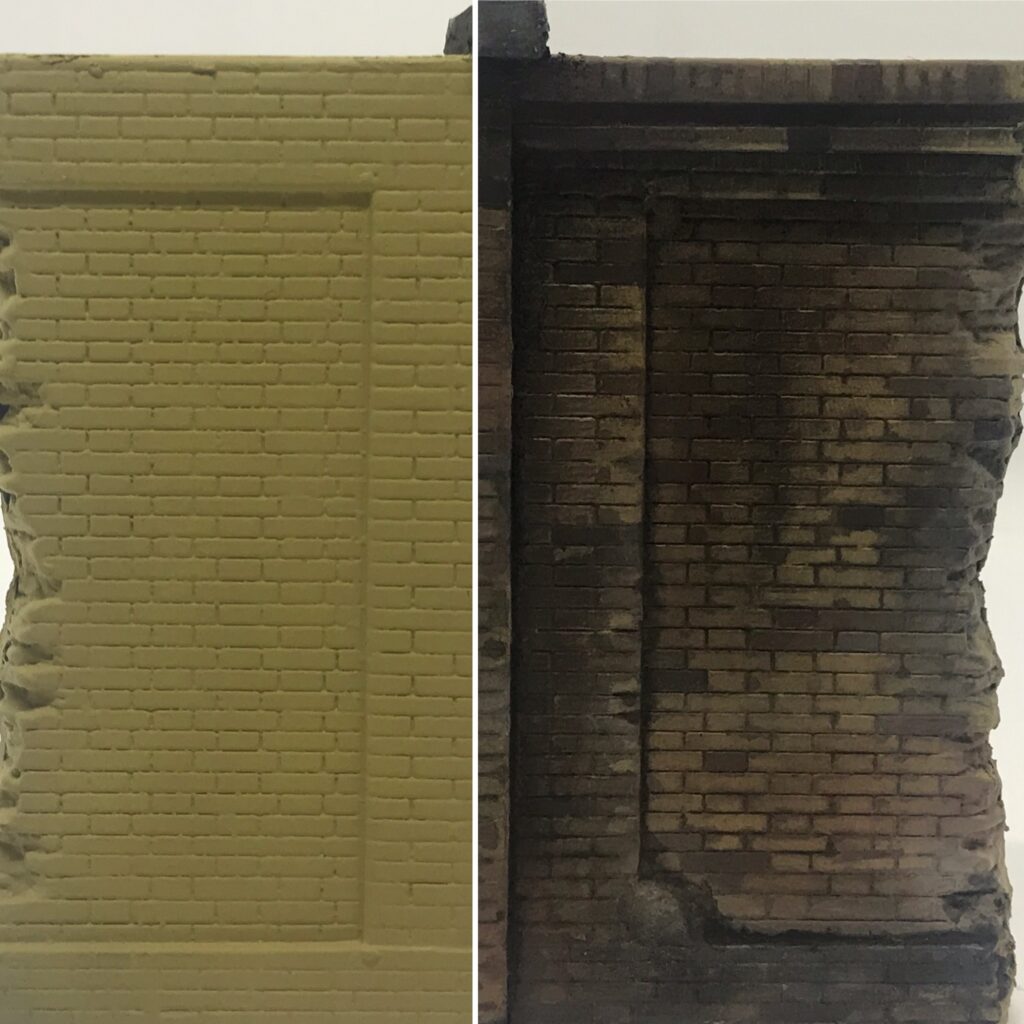
For the background, I used MiniArt 35547 Brick Wall. Its vacuum-formed pieces are designed to be paired to create double-sided wall sections. The box contained six full wall pieces and four half pieces, along with lamp posts.
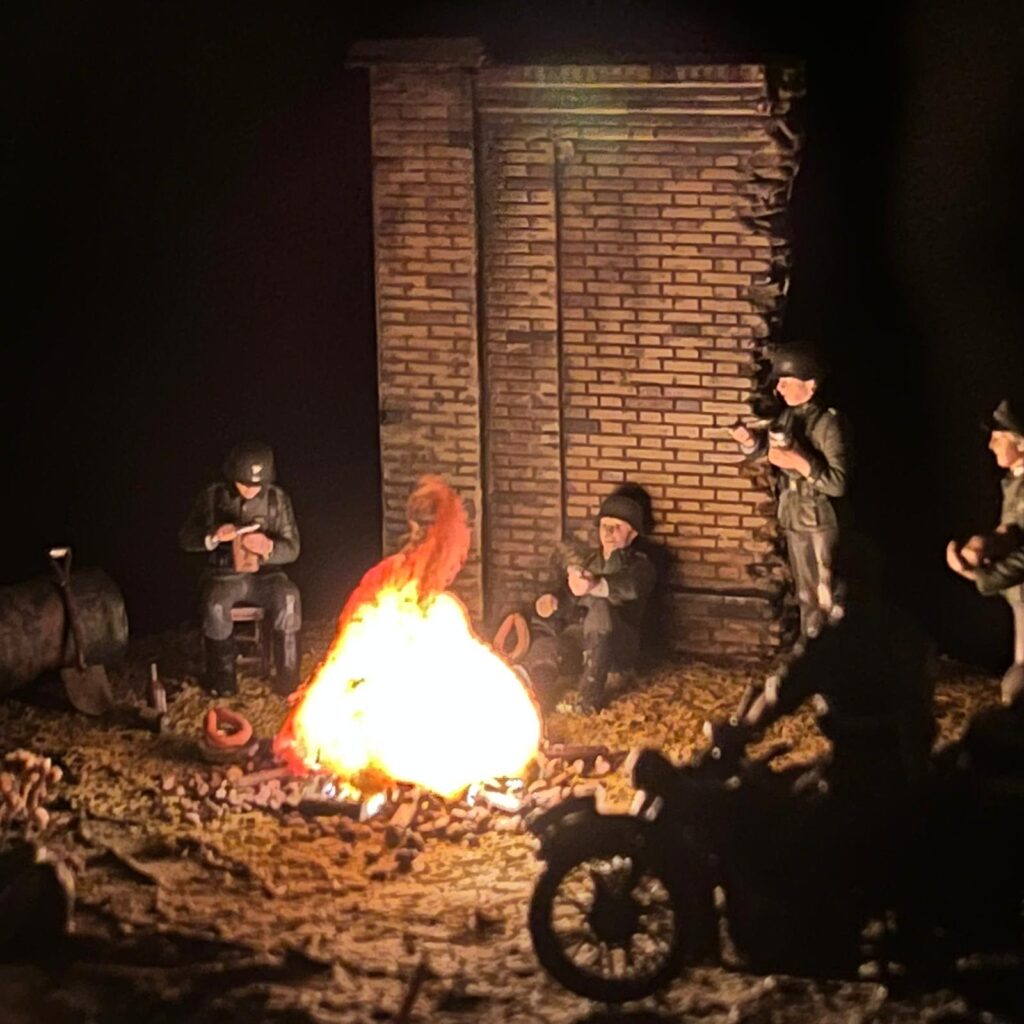
I did not use the entire set. One half wall and a corner were enough to establish the setting without overwhelming the figures or the motorcycle. I preferred a compact backdrop that allowed the main elements of the scene to remain visible.
After applying the initial coat of paint, I picked out individual bricks in different shades rather than leaving the wall in one uniform colour. I also worked pigments into areas of the surface to add variation and a slightly worn appearance. I no longer have a reliable record of the pigment brands or product codes, so I have left those details unspecified.
Making firelight with a simple bulb
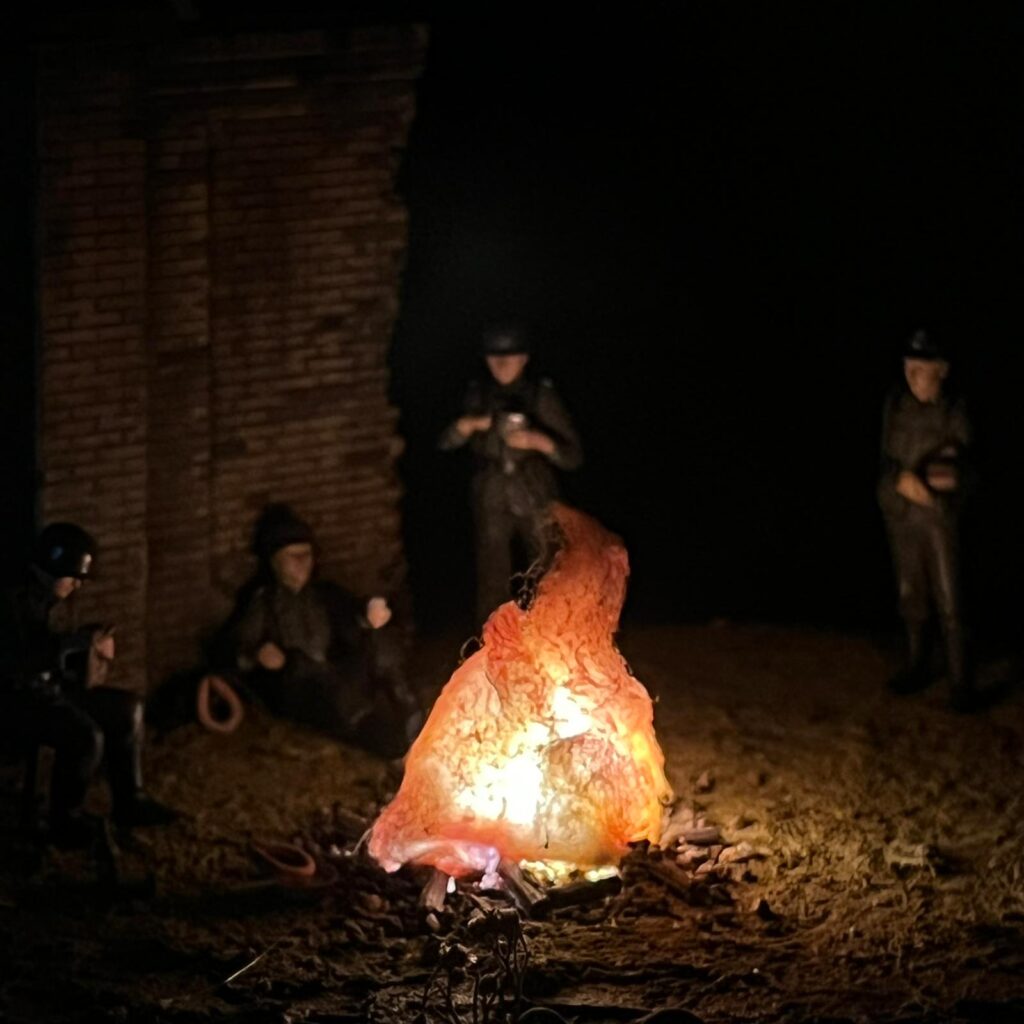
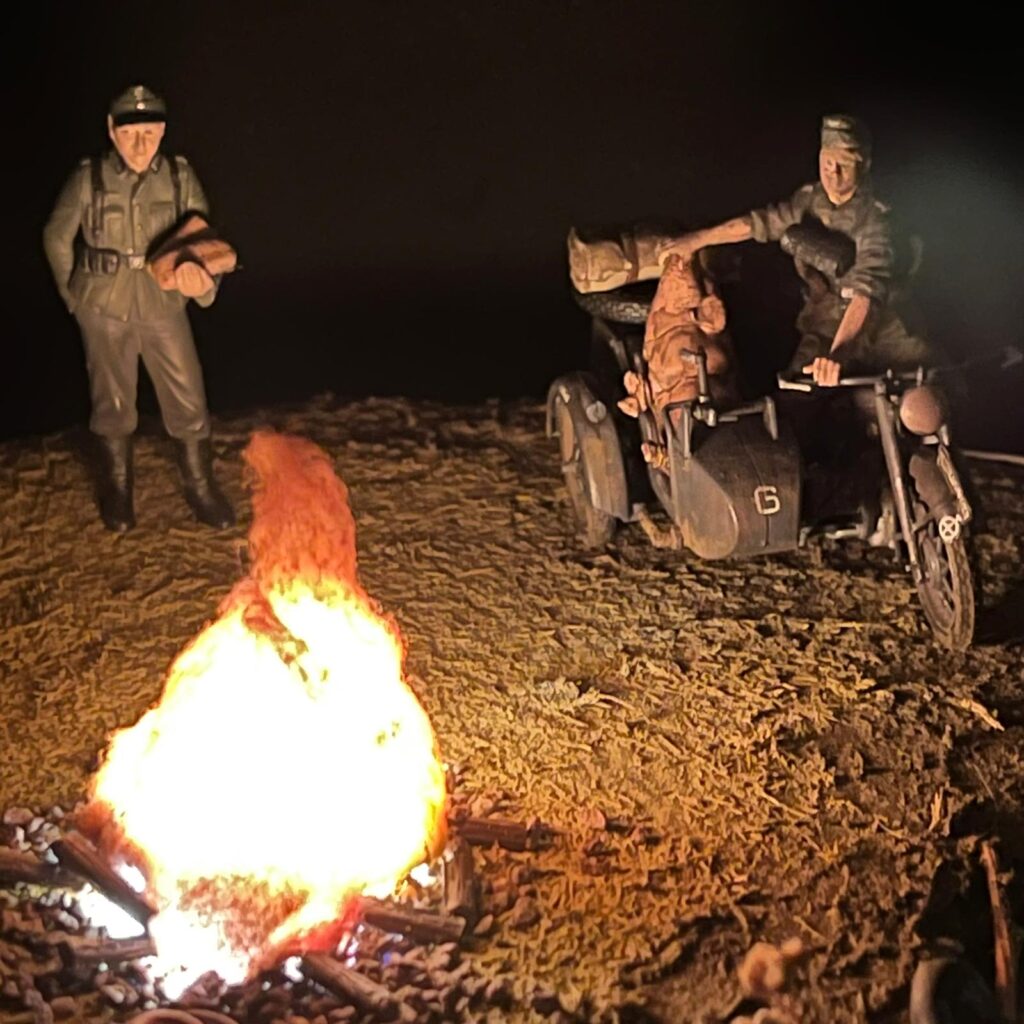
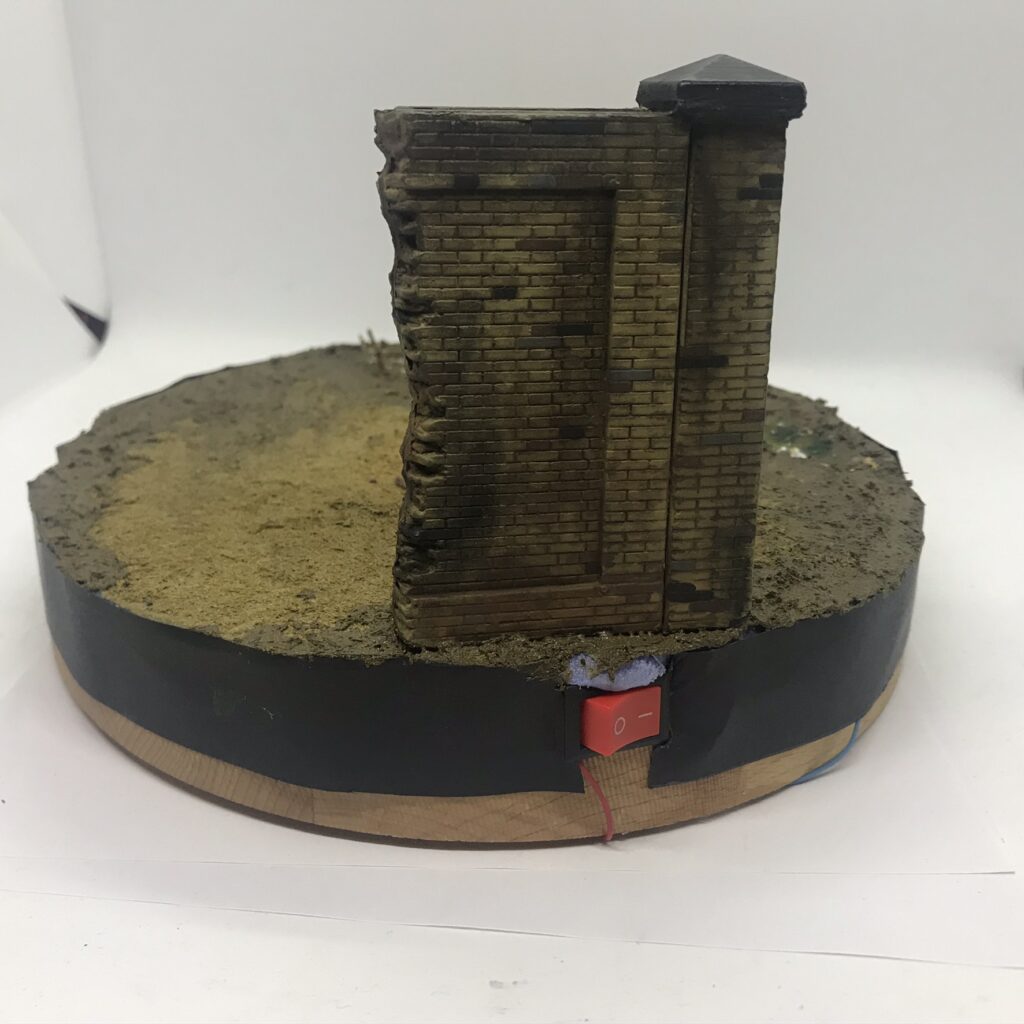
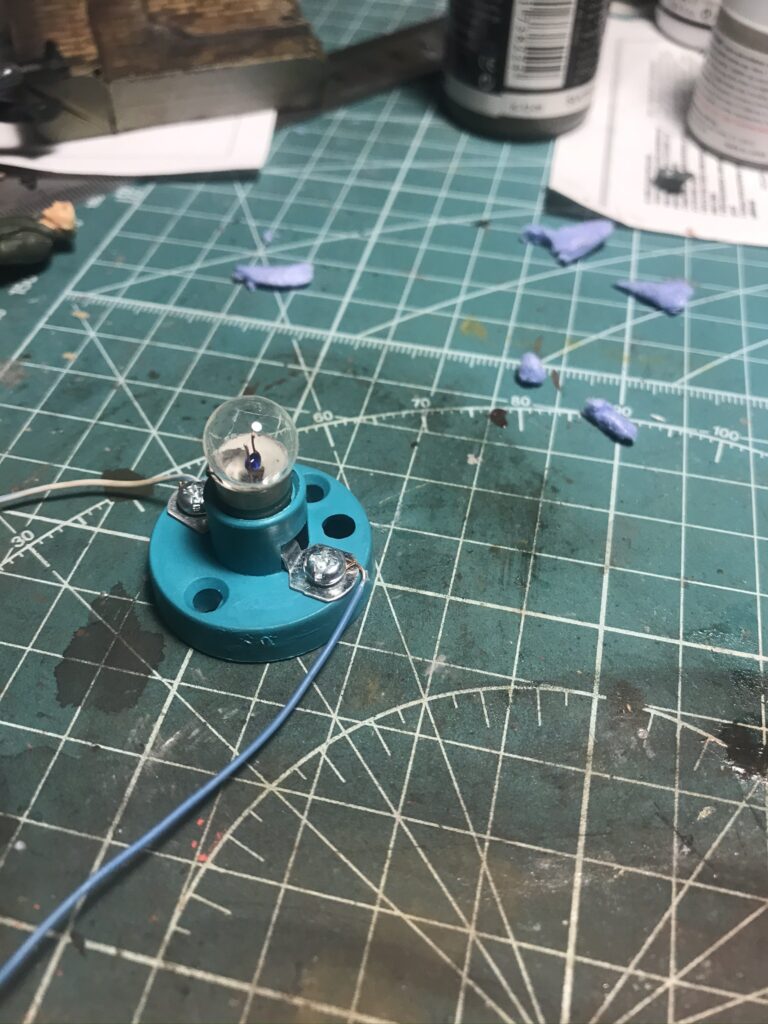
One of my favourite details in this diorama was the lighting. I installed a simple light bulb and an on/off switch, then shaped some cotton around the bulb and coloured it with red and yellow paint. When switched on, the illuminated cotton suggested the glow of a small fire.
It was neither an expensive nor a complicated setup, but it changed the appearance of the diorama in a dark room. The figures, wall and motorcycle seemed to share the same pool of light.
This describes how I made the original model, not a method I recommend copying with a hot bulb. Today, I would recreate the effect using a low-heat LED with appropriate electrical insulation, keeping combustible materials away from anything that could get hot.
The finished scene
By the time I finished, three separate kits had become one small story. The Tamiya figures formed the centre of the meal break, the MiniArt wall gave the scene a sense of place, and the BMW R12 connected it to the world of roads and movement beyond the frame. The modest lighting effect tied everything together, particularly when viewed in the dark.
What I enjoyed most was showing that atmosphere does not always require a large budget or an elaborate build. Military modelling can be about faithfully reproducing the mechanical details of a vehicle, but it can also be about combining figures, scenery and an object or two to capture a fleeting moment.
For me, Dinner at War became an example of the latter: a compact diorama about a brief pause in the midst of war rather than the battle itself.